

Use Mailchimp Mailer

FusionHQ have also integrated with Mailchimp so you can add the subscribers to your Mailchimp mailing list when they opt-in through your FusionHQ website. No code needed.
Also make sure that you have already created the mailing lists in your Mailchimp account.
Follow the instructions below.
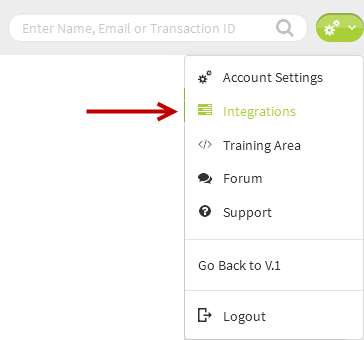
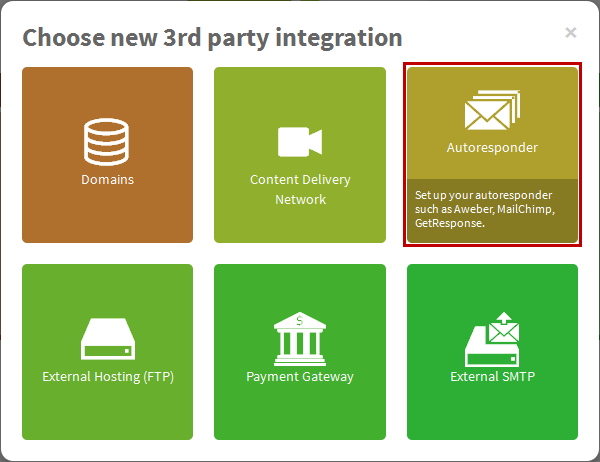
1. Select Integrations in the top right hand corner of your project dashboard. Click  to Create Profile. Select Autoresponder option.
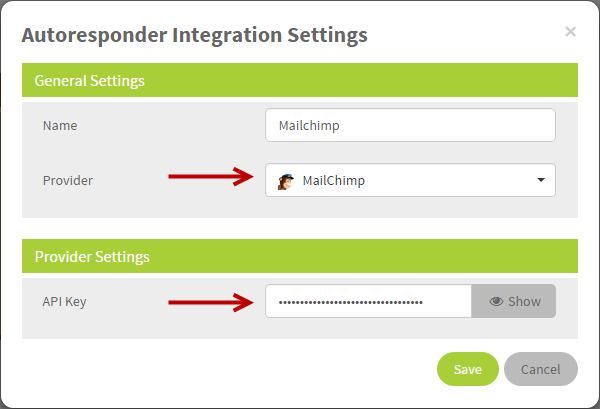
2. Name your profile. Select Mailchimp as the provider from the dropdown and input your Mailchimp API Key. Save settings.
3. Next, go to your Sales Funnels and select the page where the optin box is located.
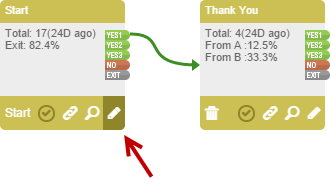
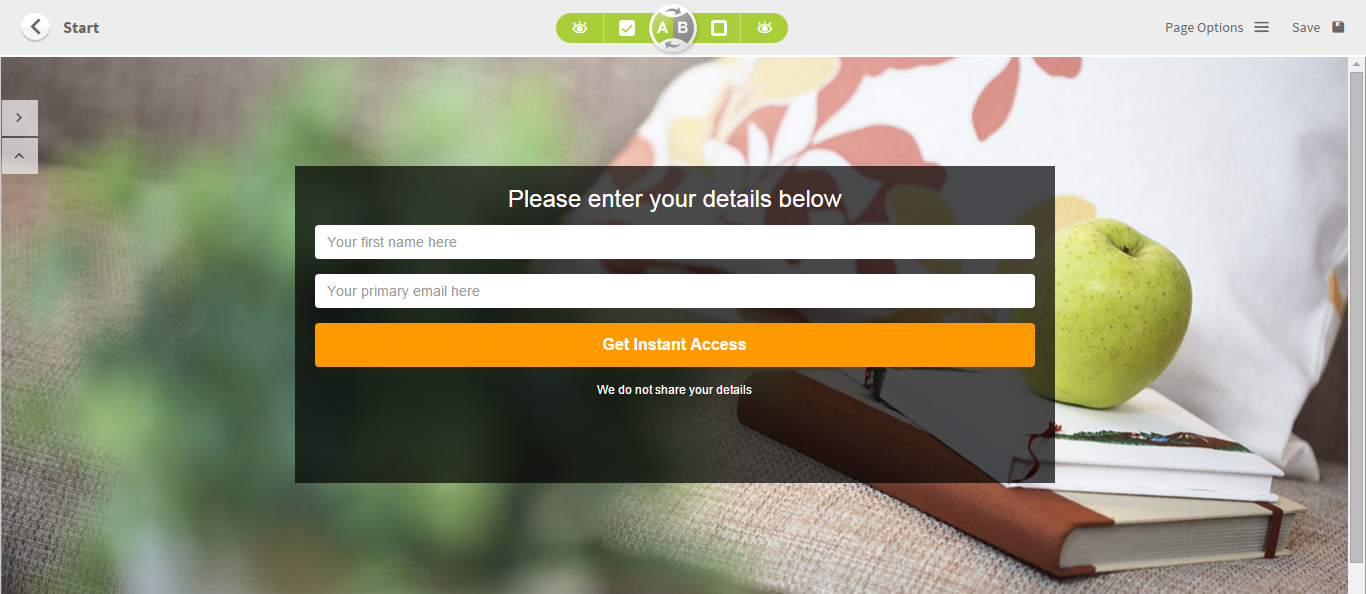
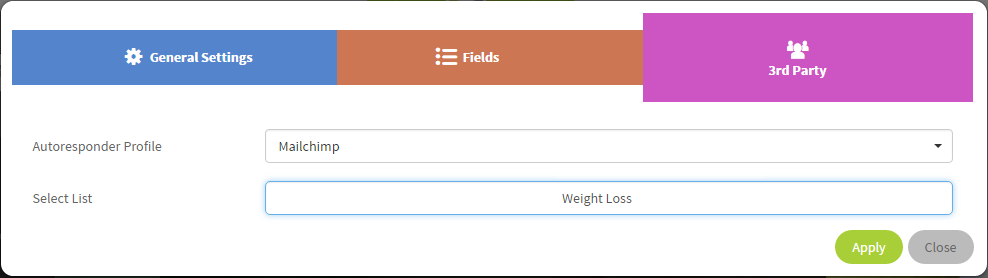
4. Double clicks at the opt-in box to activate the settings pop up. Go to the 3rd party tab, select the Mailchimp autoresponder profile you have created as the 3rd Party Provider from the dropdown. Select the mailing list to add the subscribers. The list shown at the dropdown is your list in your Mailchimp account.
Note: You also need to select a FusionHQ mailing list at General Settings and Mailchimp List at 3rd Party.
5. Apply the change to your page. Click Save button on the top right of the page to save the Drag & Drop Editor.
Once a subscriber opts-in to your website, he is added to the FusionHQ mailing list selected at General Settings and your Mailchimp mailing list selected at 3rd Party tab. 2 places with one opt-in.
Generate The API Key From Your Mailchimp Account
- Click your profile name to expand the Account Panel, and choose Account.
- Click the Extras drop-down menu and choose API keys.
- Copy an existing API key or click the Create A Key button.
- Name your key descriptively, so you know what application uses that key.
