
Send Login Details Through Automated Emails
In this tutorial we will show you how to send login details to your customer through the automated emails.
If you don’t know how to set up automated emails, please refer to our Automated Emails tutorial.
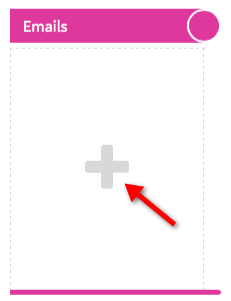
1. Within your "Automated Emails" Component, click "Email" on the right side.
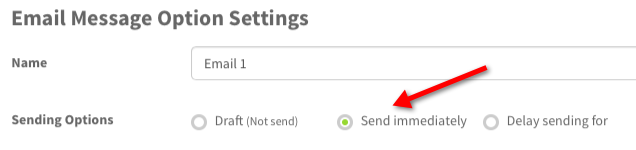
2. Set up your Email Message Option Settings as per usual. Make sure that the “Send immediately” is enabled.
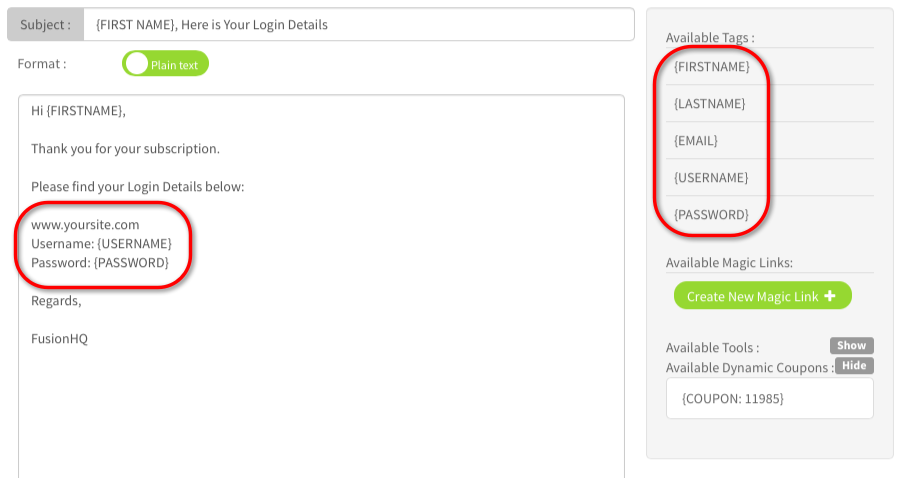
3. Then enter the content of the message. The most important thing is use the {USERNAME} and {PASSWORD} available tags in the content. You can find more available tags on the right side if you want to use.
4. When you are done setting up your email message settings, click "Save".
5. Click the “Start sending all scheduled emails now” button to start sending the automated message. The message will be sent once your customers are added to the mailing list associated with this automated email.
You can use this mailing list with the opt in form or add this mailing list to the product.
