Promo Tools
This tutorial will show you how to create Promo Tools for your affiliate campaigns. You should always have tools in order for your affiliates to promote your campaign.
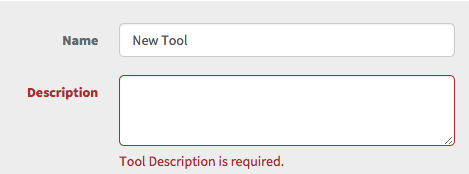
1. Enter a "Name" for your new tool and add "Description" on what kind of promo tool it's going to be or what that promo tool is for.
2. You can "Send Click To URL", "Sales Funnel", "Content Site" or "Payment Link". Whichever one you select is where your affiliate will be redirected to when they click on the tool.

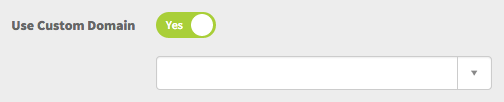
3. "Custom Domain" is the domain that you have uploaded in the sale funnel or content site only.
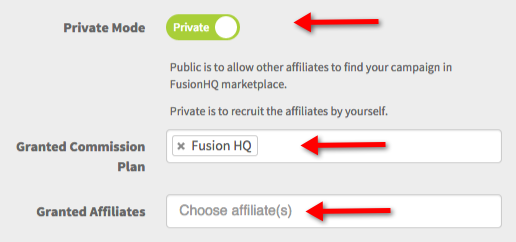
4. For "Private Mode", you can select Private or Public. Private is used to recruit the affiliates by yourself, while Public allows other affiliates to find your campaign in FusionHQ marketplace.
"Granted Commission Plan" – It’s the commission plan that you will assign to this affiliate when they use this tool. I will explain how to set up a commission plan at the end of this tutorial.
"Granted Affiliates" – It’s to select which affiliate person can see and use this tool. You can enter as many affiliates as you would like.
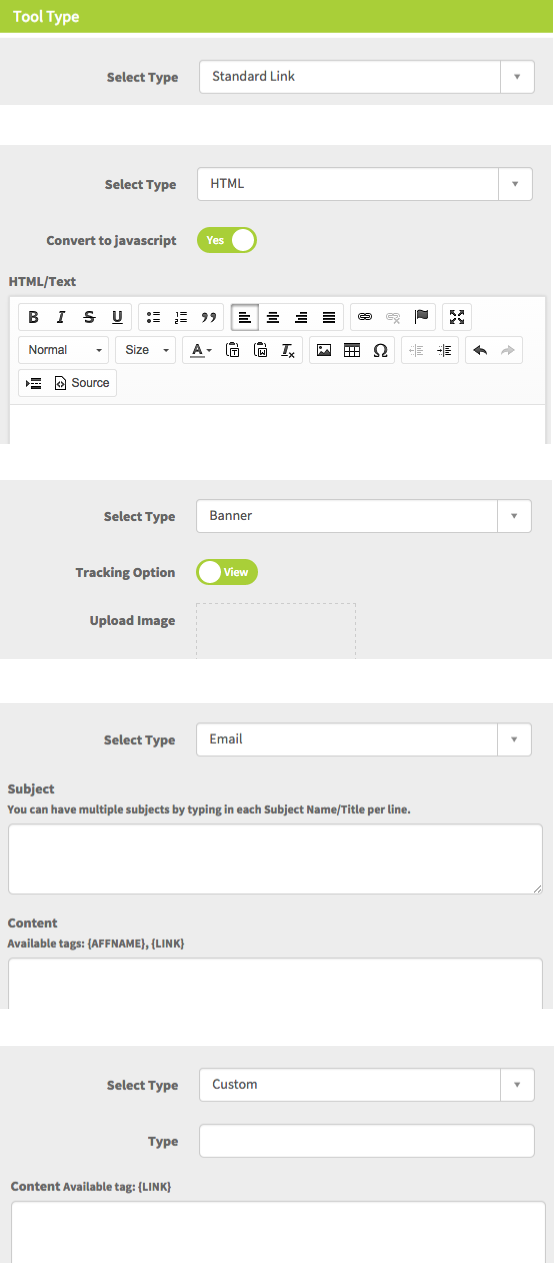
5. Select the "Tool Type" – either Standard Link (just a URL), HTML (where you can choose to covert to javascript or not), Banner (you will need to upload the image and select whether or not you would like to track the views or clicks), Email (where you have to enter the subject and content) or Custom (which allows you to create and customize the tool according to your requirements.
You can create different tools for your affiliates and as many as you like. Your affiliates can choose which ones to use in promoting your site/product from all these tools.