

Paste Your Text

Text is the important part of your website or your squeeze page. Good text impresses the reader and convinces them to sign up or register to your website.
Pasting text directly in the Drag & Drop Editor might cause some display error due to the inconsistency of two software.
This tutorial shows you an overview of the textbox functions, along with explanations on how to use them. So you can edit the text in the Drag & Drop Editor correctly.
1. Textbox is one element in the Drag & Drop Editor. You can find the Drag & Drop Editor in both Sales Funnels & Content Site.
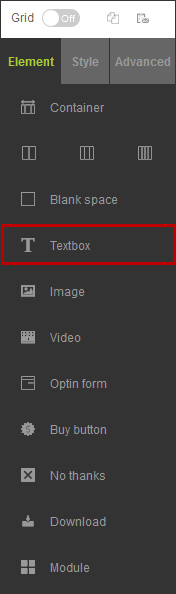
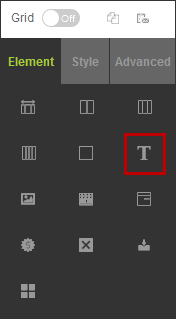
2. You can drag the
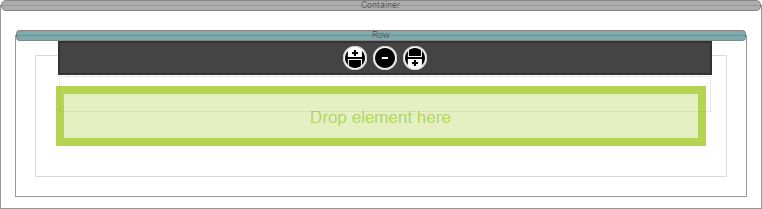
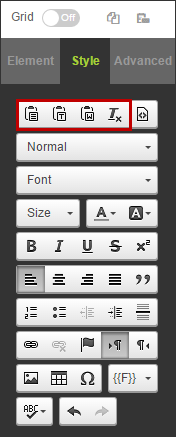
3. To edit the text, click the textbox element once to activate the text panel at the Style tab.
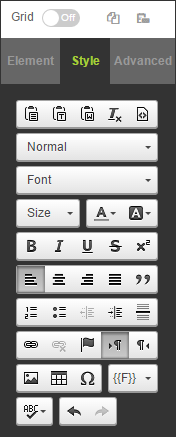
4. The first row features "Paste", "Paste as plain text", "Paste from Word", "Remove format" and "Source".
-

Paste is to paste the text with the current format eg. style, color, size and everything. -
 Paste as plain text (highly recommended) is to remove the current format of the text before pasting. The text will use the default font style of the Container.
 -
 Paste from Word is used if you want to keep some text styles eg. Bold, italic or underline. The system won’t keep the highlight color and font color.
 -
 Remove format is used if you want to remove the current font format. Only highlight the sentence or text and click this icon to remove the style.
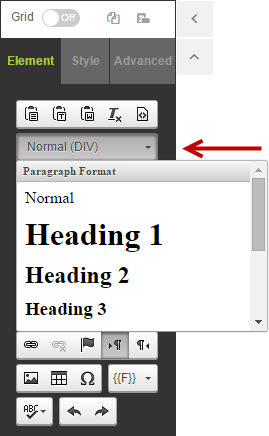
5. Once the text is pasted, you can edit the format by using the Heading format (or HTML H1 to H6 tag). It's the second row in the text panel.
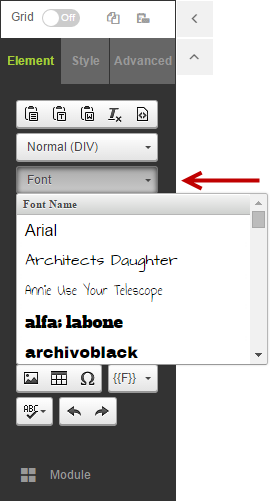
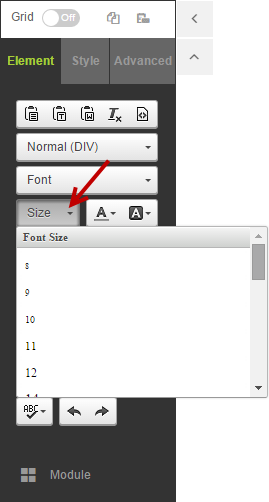
6. Alternatively, you can select other font and size at the 3rd & 4th row.
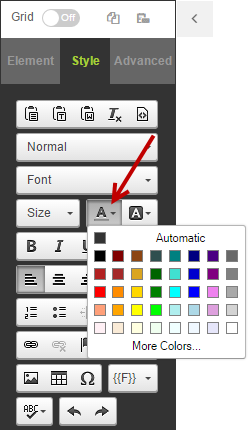
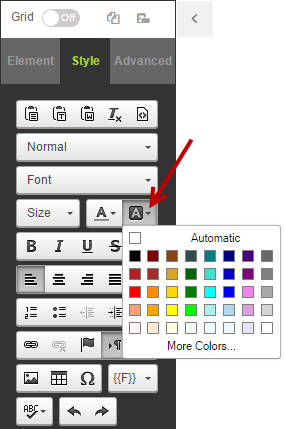
7. ![]() is to change the font color whereas
is to change the font color whereas ![]() is to add the font color background. Click the small triangle icon to view the color palette.
is to add the font color background. Click the small triangle icon to view the color palette.
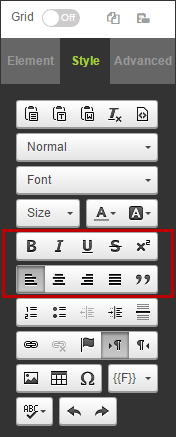
8. Available font formats include ![]() bold,
bold, ![]() italic,
italic, ![]() underline,
underline, ![]()
strike through or ![]() superscript. You can align the text either: left, centre, right or justified. Click the quotations button to block quote. It's the 6th & 7th row respectively.
superscript. You can align the text either: left, centre, right or justified. Click the quotations button to block quote. It's the 6th & 7th row respectively.
9. Once everything is set, remember to click Save in the top right hand corner.