Manage Components
In this tutorial we will show you how to manage or organize the components in your project.
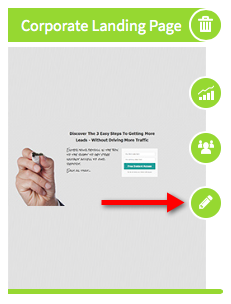
1. On your project's list page, click the "pencil" icon on the project you desire.
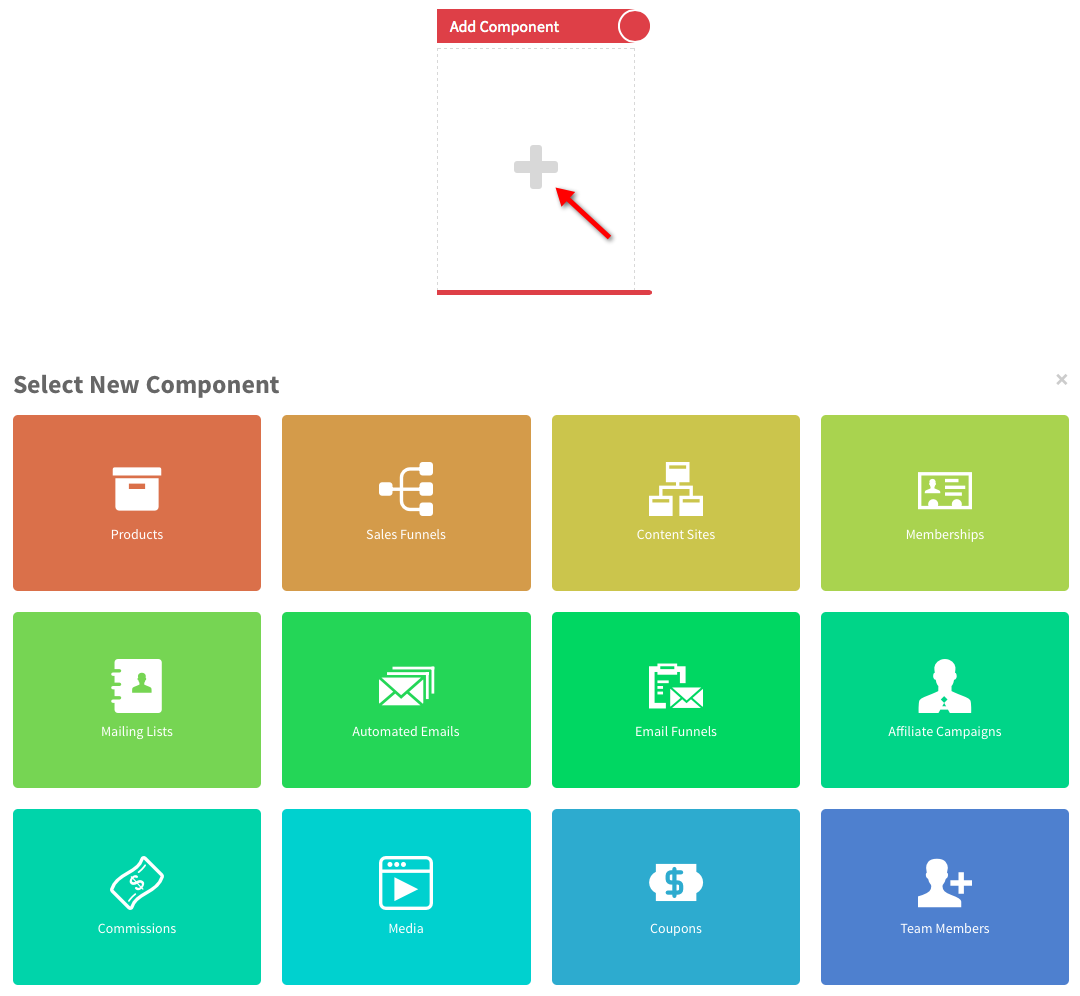
2. This will lead you to the component list. You will find all of the components that you have created in the project. You can also easily add new components by clicking "Add Component" and select the component that you desire.
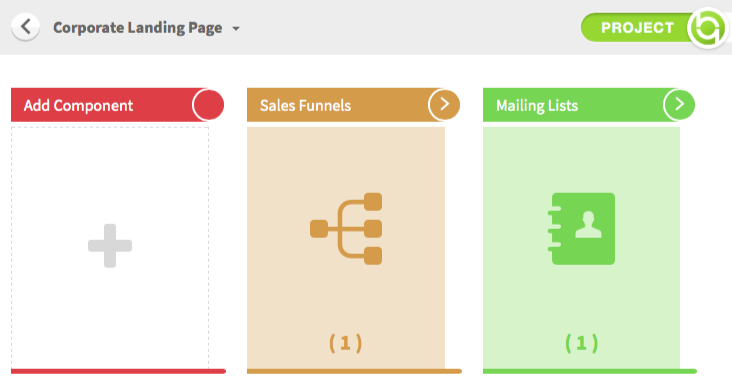
3. You can also easily add new components by clicking "Add Component" and select the component that you desire.
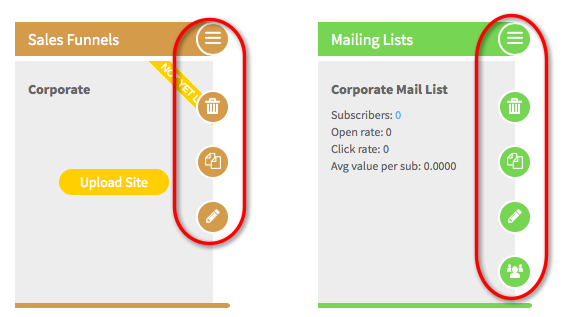
4. You can also "delete", "duplicate", "edit" or "manage" each component by clicking the icon on the right side.
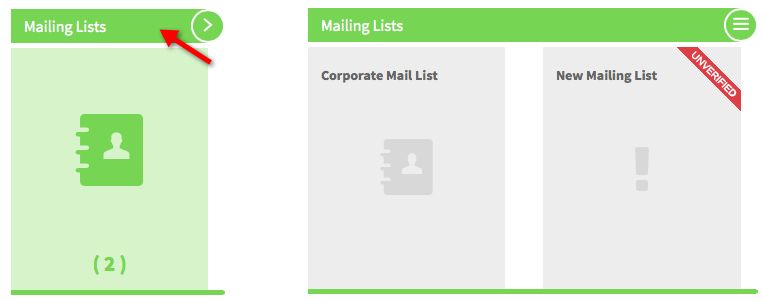
5. To create a more organized looking list, simply click on the top bar of each component to either "expand" or "collapse" each component.
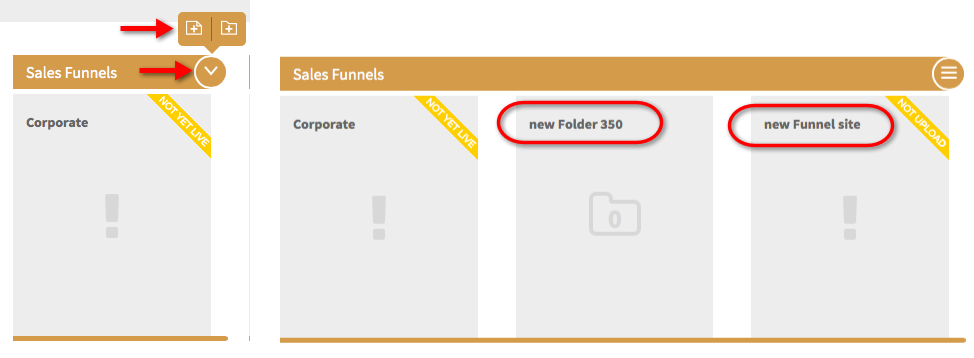
6. At the icon on the top right corner of each component, you can either "create a new component" of the same type or "create a folder".
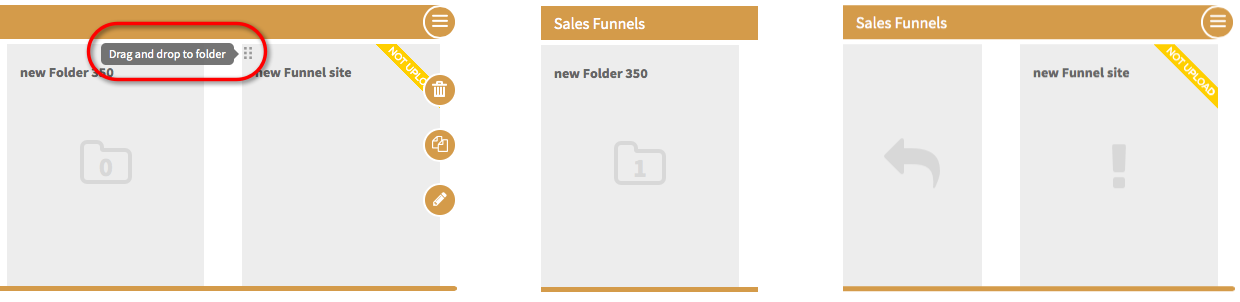
7. You can easily drag the component into a folder by grabbing on to the top left of the component and dragging it into the folder. You will notice a number in the middle of the folder. That shows how many components are inside the folder. If you click on the folder, you will see all the components that you have put in there.
To take it out of the folder, simply click and hold the folder and drag the component out. Then it will be shown in the component list again.