
Email Funnel (Behavior Emails)

The purpose of the Email Funnel is to let you filter the subscribers from multiple lists and send them the proper email messages according to their behavior.
It's different from broadcast email because with broadcast email, you can send only one email. But email funnel allows you to send multiple emails to several lists of the subscribers who have the same nich eg. have the same product or are in the same country. You can even send follow up emails to those who open or click the previous emails only. Or even those who do not open your email yet. So you won't miss any subscribers. You get more opportunity to make sales.
TIP: How's each email function different?
- Broadcast Email = one email message sent to current subscribers in multiple mailing lists
- Automated Email Series = an automated sequence of email messages sent to new subscribers to one mailing list only
- Email Funnel = an automated sequence of email messages sent to new subscribers to multiple mailing lists with filter options following the action of the receivers eg. open or click.
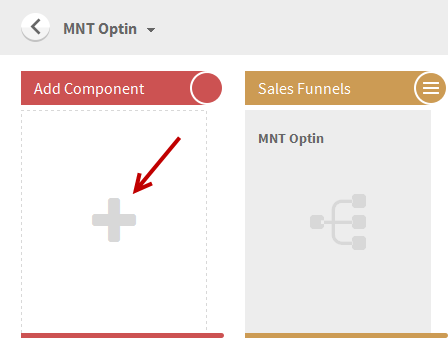
1. Go to your project, click to Add Component.
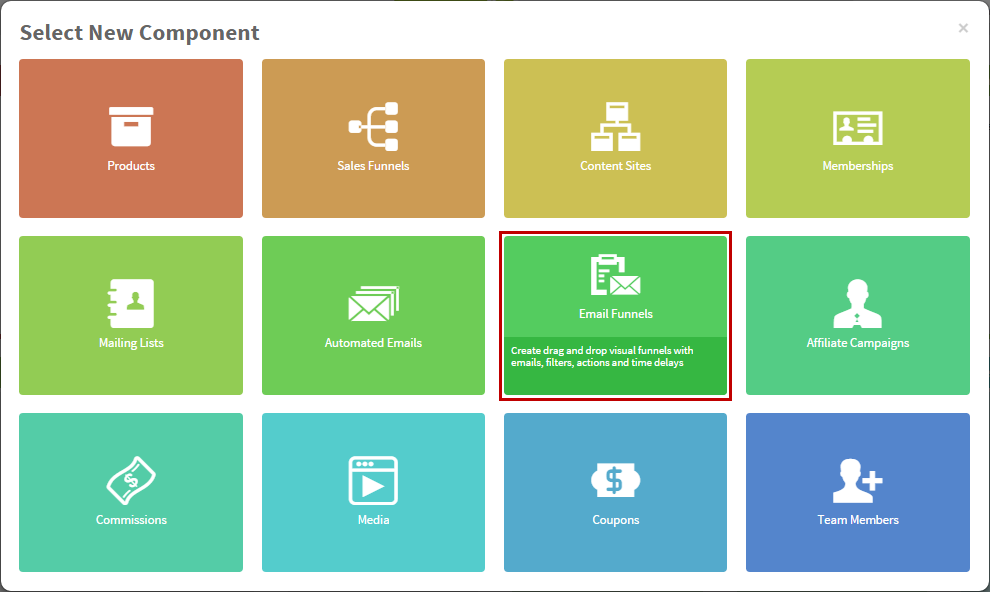
2. Select Email Funnels.
Email Funnel Functions
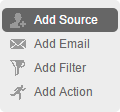
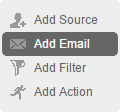
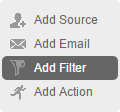
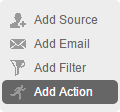
In Email Funnel, there are 4 main functions that can be used: Add Source, Add Email, Add Filter and Add Action.
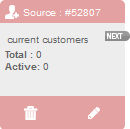
- Add Source allows you to select the mailing lists or source, which is the target of the email funnel. To define the list by selecting the sources from the product or membership levels they have.
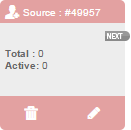
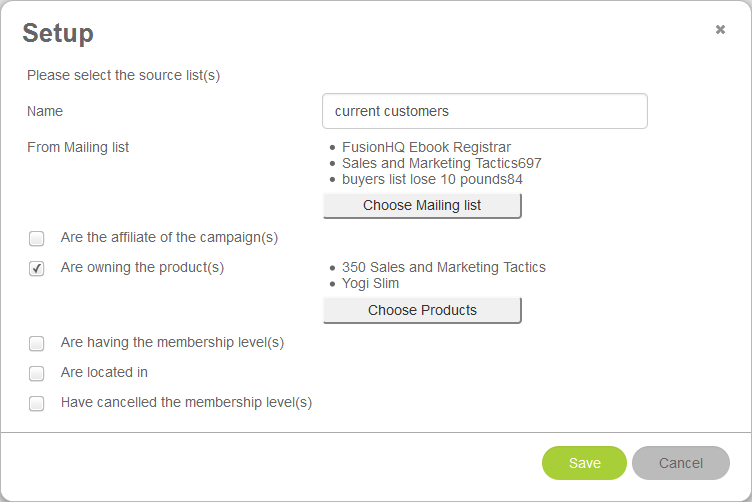
From the sample image, it means that only the subscribers who are added to the selected mailing lists and have the selected products only will receive the email. If they are added to the mailing lists only but do not have the products or vice versa, will not receive the email.
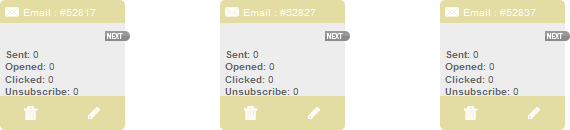
2. Add Email is to create the email message that you want to send to the subscribers who match the condition of the Add Source. Click pencil icon to add the content. You can send the text in Plain text option or HTML text option. There are available tags that you can use on the right side. The system will change its value for you automatically. You can also add the Magic link into the content.
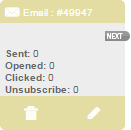
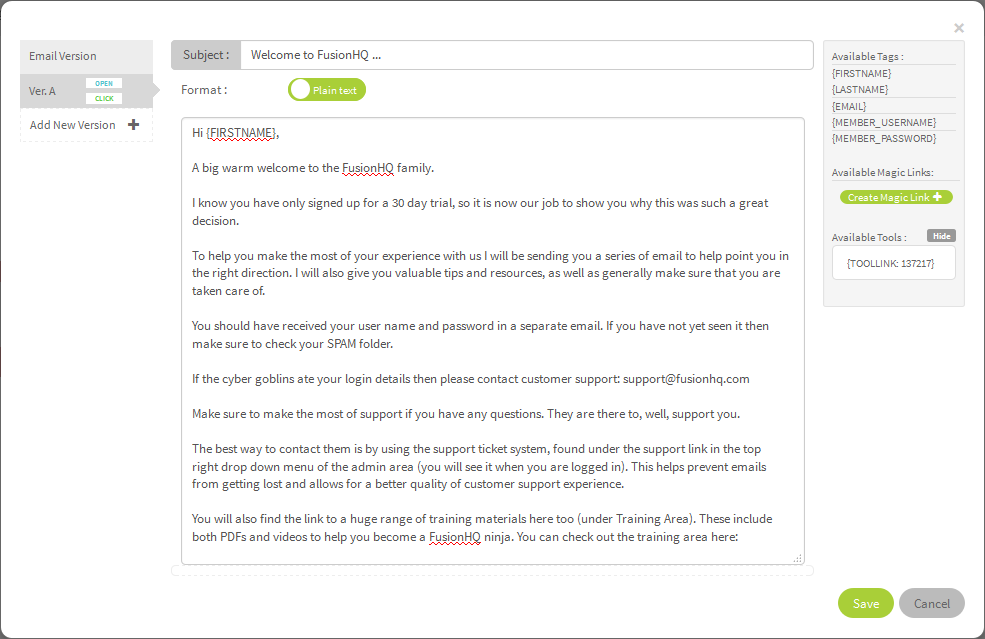
The email message function is the same with the Broadcast Email & Automated Email feature. You can add tags, links and email split test.
3. Add Filter allows you to further define the subscribers for a more specific target according to their actions. Click the pencil icon to set up the filter. You can find the option to define the subscribers if they open or click your email. Or you can select the campaign, product, membership level, other lists or their country. Click Save to leave the set up.
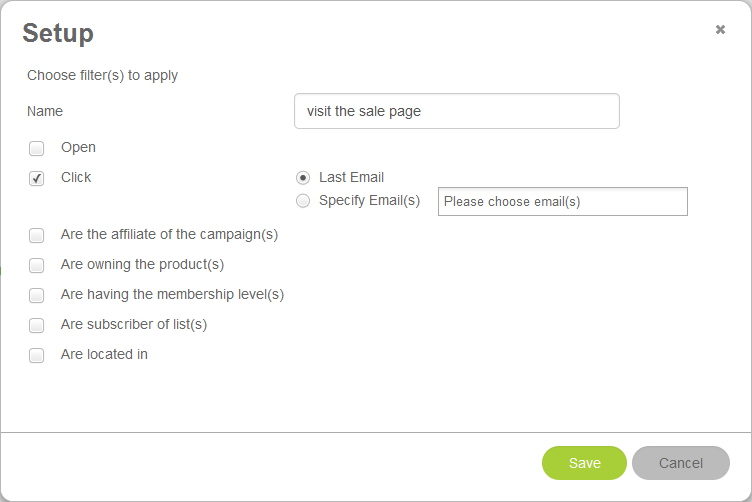
From the sample image, it means that you want to send the next email to those who clicked the links in the emails only. If they only opened or have other options, it wouldn't matter.
4. Add Action is optional. It's to set up the following process of the subscribers who have read, clicked or been filtered. It is an optional process. Click pencil icon to set up. You can select which email funnel or which email that you want to bring the subscribers to.
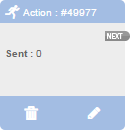
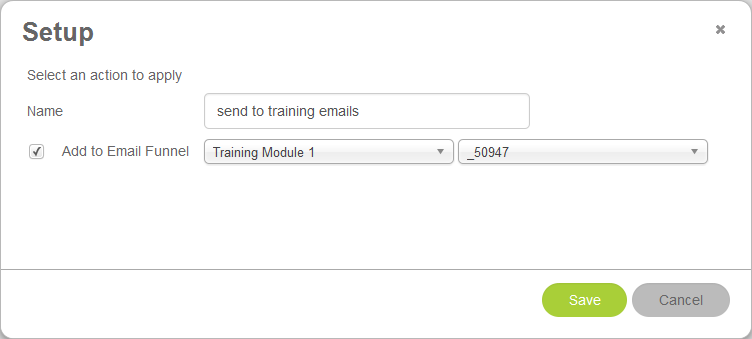
From the sample image, it means that you will send another email funnel series. If you do not want to, no need to use this option.
Create An Email Funnel
1. When you first open a new email funnel component, Add Source automatically opens for you. Click the pencil icon to select the source.
2. Create the email messages. You can have as many emails as you want.
3. Then connect Source and Emails together. Simply click the Next node on the main function, which creates a green link. Then connect that link to any function you wish.

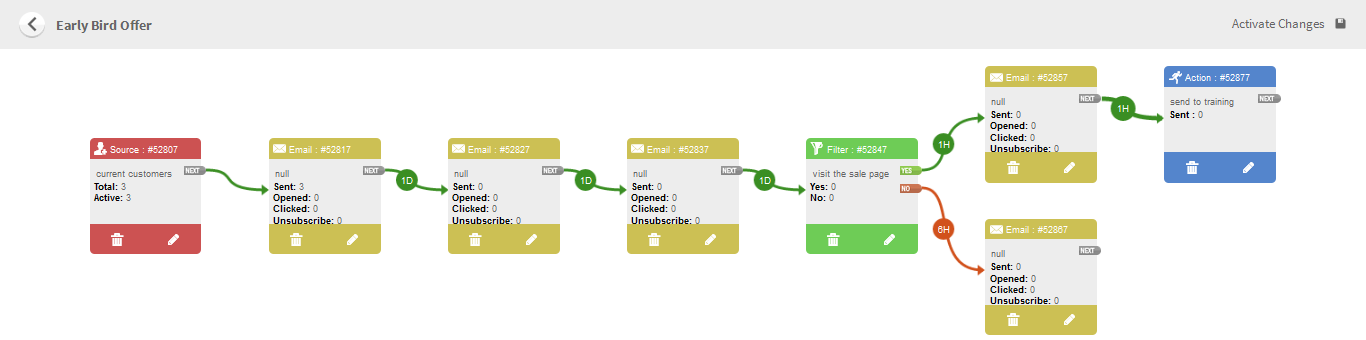
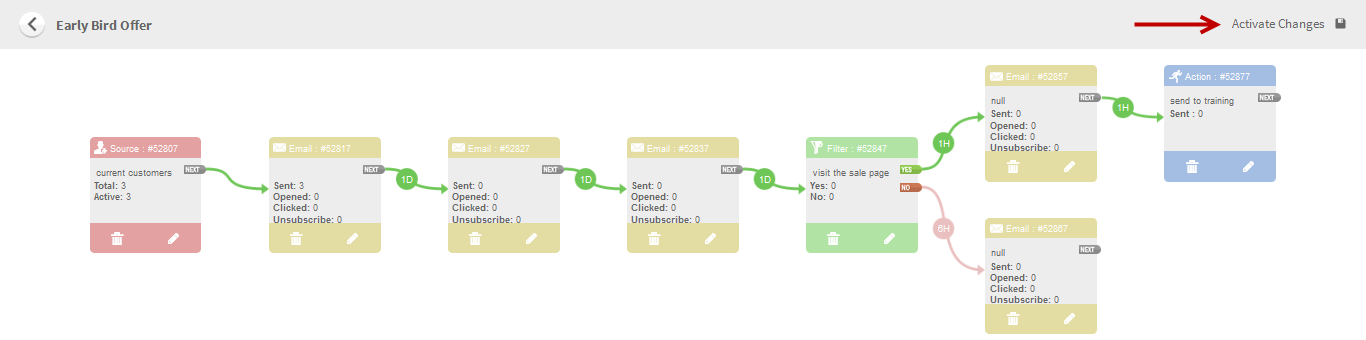
4. Filter the subscribers following their action to receive the next email (optional).
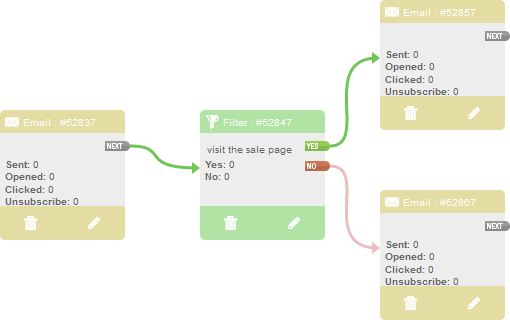
From this image, it means that if the subcribers clicked the link in the email #52837, they would receive the email #52857. If they did not click the link, they would receive the email #52867
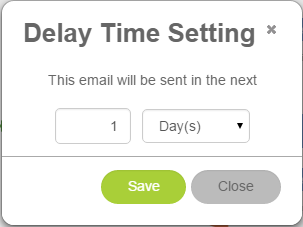
5. You can also set up the delay option of each connection by having a click on the link to activate the Delay Time Settings popup. The delay starts from the previous email they received.
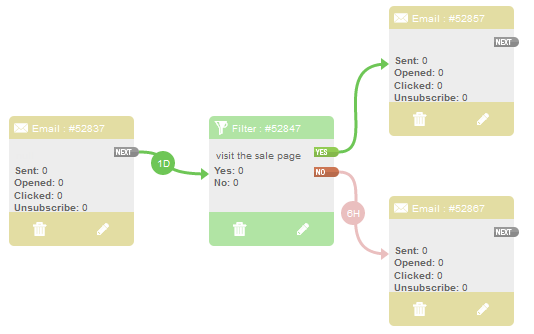
From the sample image, it shows that 1 day after the email #52837 was sent, the system would filter the subscribers who clicked the link and then send out the email #52857 immediately. If they do not click the link, the email #52867 will be sent in the next 6 hours.
6. You can add Action to bring the subscribers to the next email funnel if your want (optional).

7. While you are customizing the email funnel, each element will be tranlucent. Make sure to click Activate Changes on the top right to go live when it's ready.
8. After the email funnel is live, the element shows full color.