
Create An Opt-In Page (Squeeze Page)

The optin page is used to get your customers' details, such as first name, last name and email address.
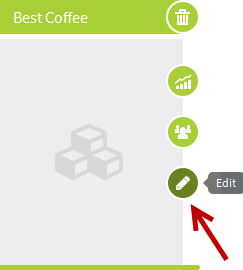
1. Go to any project that you want to create a squeeze page. Click the pencil to access the project.
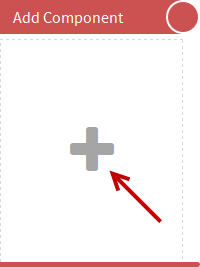
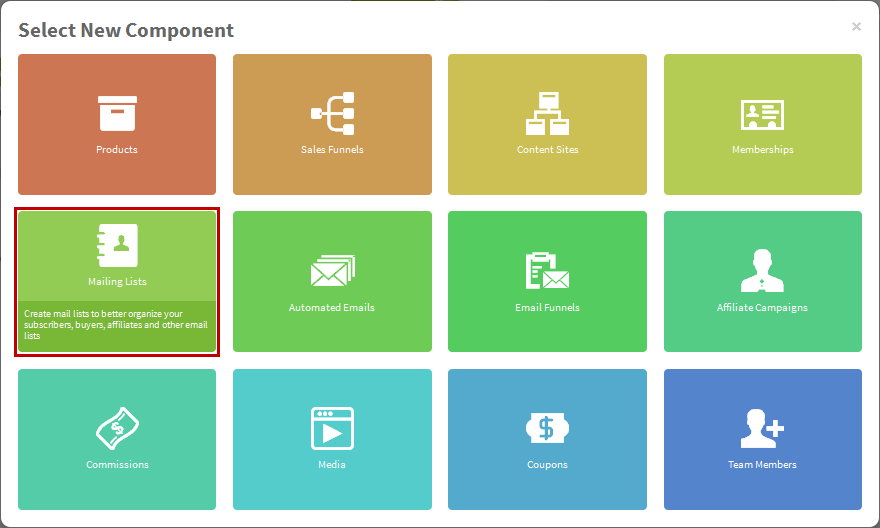
2. Click Add Component and select Mailing List.
3. Follow the mail wizard to create a new mailing list.
Step 1 of 3 - General settings
This is to set up the necessary details of the mailing list. Fill in the Name, Display Name, Send From Name, Send From Email (You cannot use Gmail, Yahoo, Hotmail or any email account from free webmail) and Reply To Emai. Once finish, click Next button to proceed to Step 2.

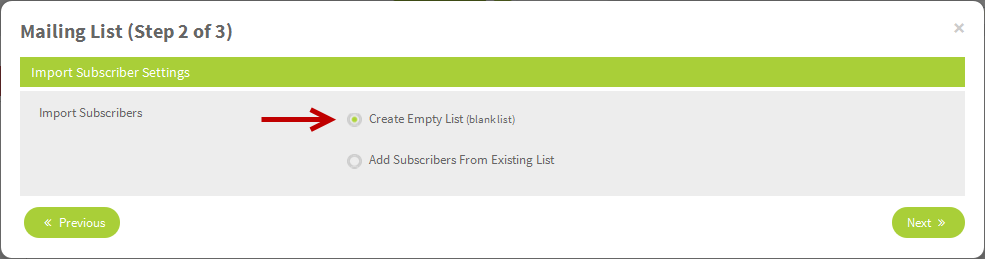
Step 2 of 3 - Import subscriber settings
At this point, you have the option to select if you wish to create a brand new mailing list or import the subscribers from any current mailing lists (option for advanced users). Once finish, click Next button to proceed to Step 3.
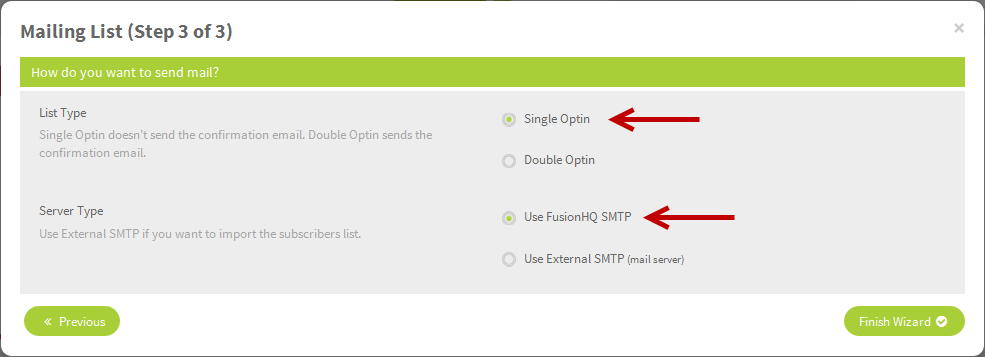
Step 3 of 3 - How do you want to send mail?
This is to select the mail server type to work with this list. Optin Type is the option to not send (single optin) or send the confirmation email (double optin) to the subscribers after they opt-in. Server Type is to select the mail server service to keep and send out your email message to the subscribers in this list. If you want to import the list, please select the option Use External SMTP (mail server).
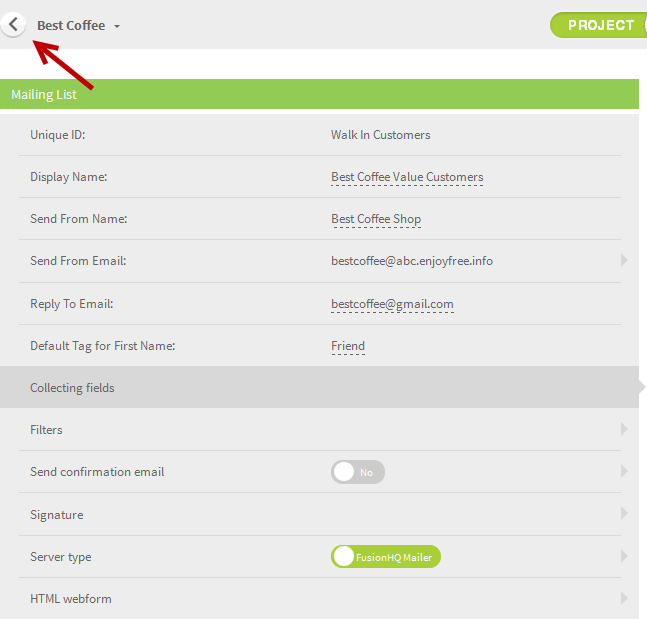
4. Once finish, click the Finish Wizard button to see the mailing list details page where you can also adjust or customize the details of the list. Click the back button to go to the component list page.
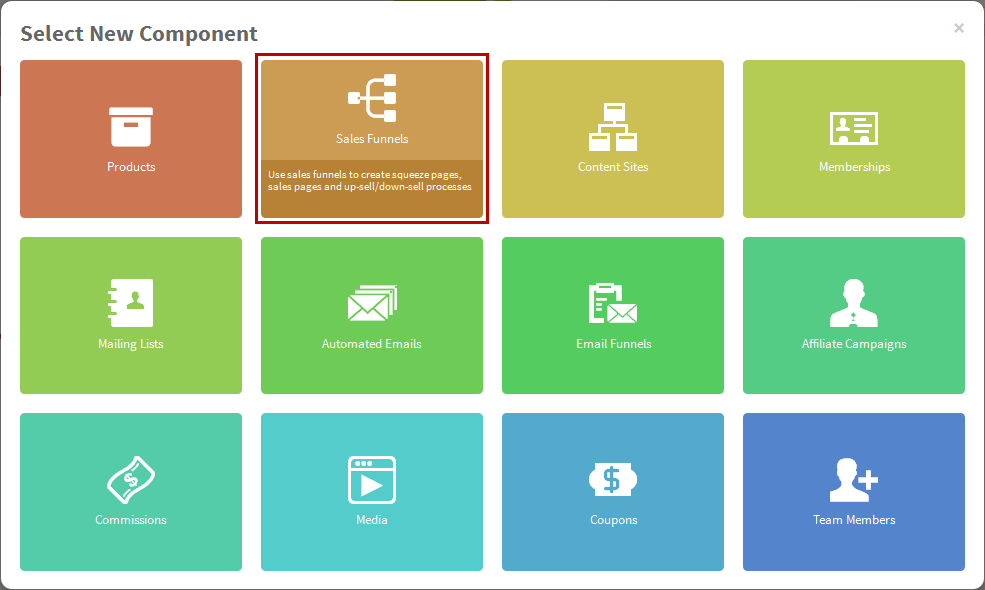
5. Now your mailing list is ready in the project. Click Add Component again and select Sales Funnels.

6. Click the pencil icon of the start page to edit the page.

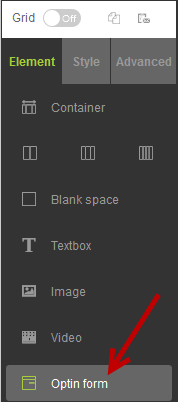
7. At the Drag & Drop Email, drag the Optin Form element and drop it anywhere on the page.
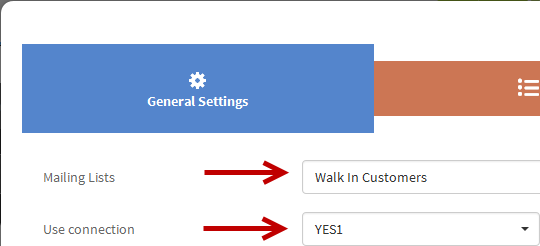
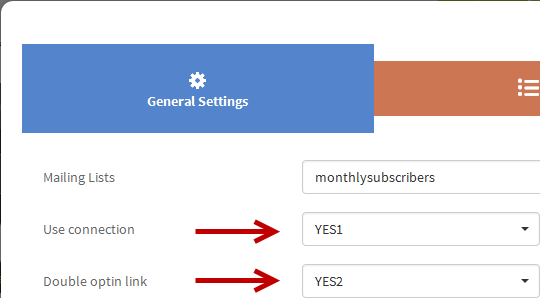
8. At General Settings tab, select the newly created Mailing List above and select Yes1 option for both Use connection. If your list is double optin, it shows Double optin link Select Yes1, if you want to redirect the customers to the same Thank You page or Yes2 if you want to redirect to a different page after they opted in. Apply settings.
Single Optin
Double Optin
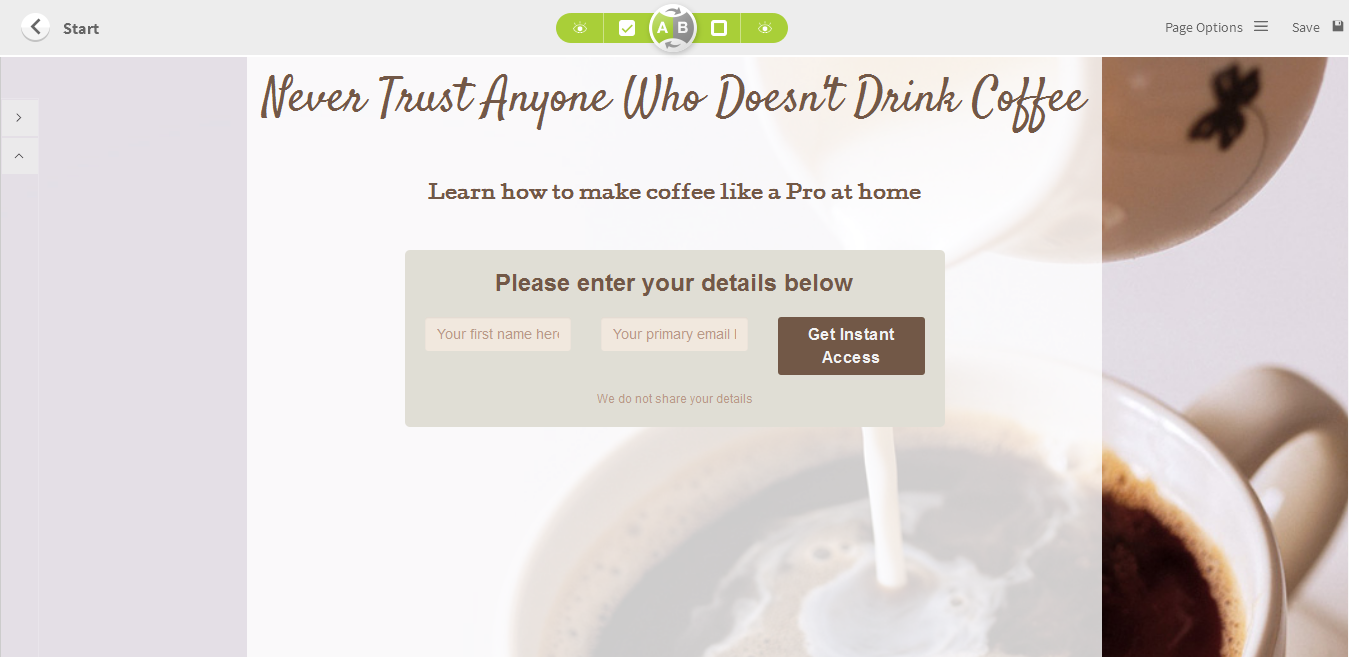
9. The optin form is now ready. You can customize the page by putting more text, images, change the theme & style to fit the design.
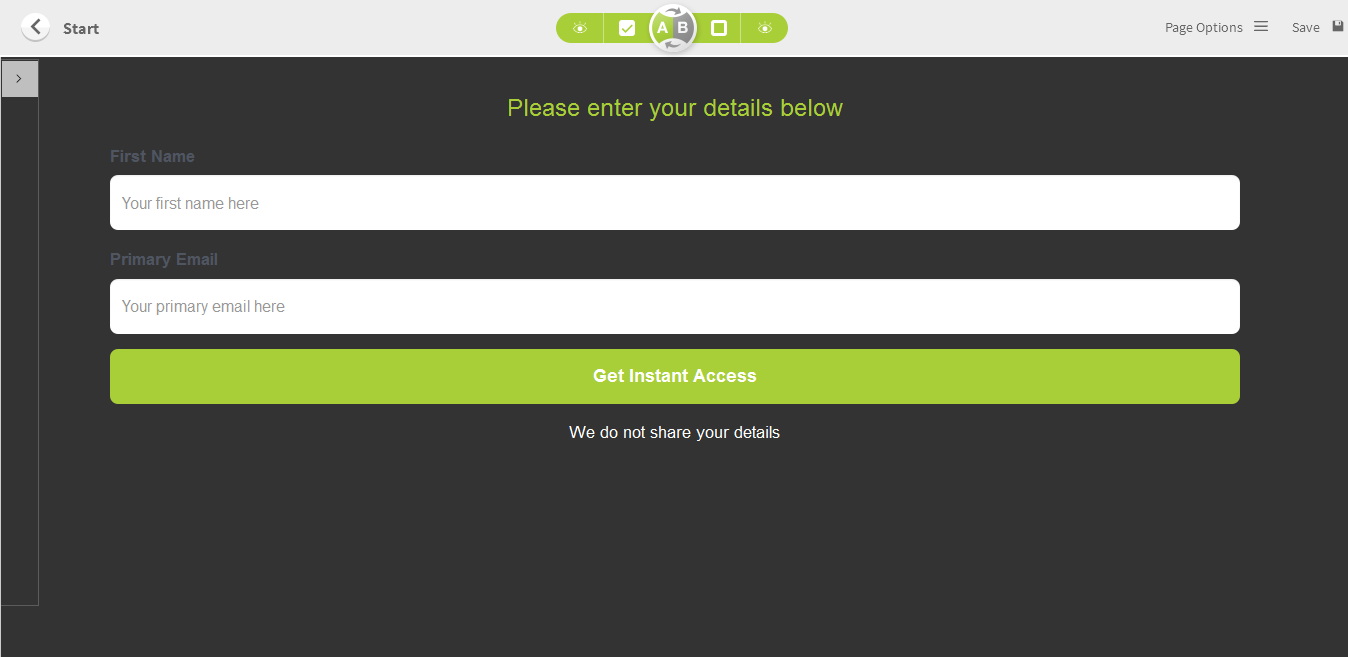
10. Your optin page (squeeze page) is now ready.
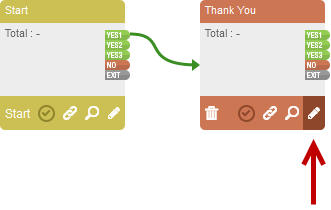
11. Next, go to the Thank you page. Click the pencil icon to edit the page (you need to create 2 Thank you pages if you use both Yes 1 & Yes 2).
12. Input the text to thank you your customers. Customize the page to either way you want. Once finished, save the page before exit.

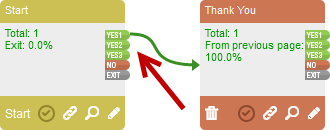
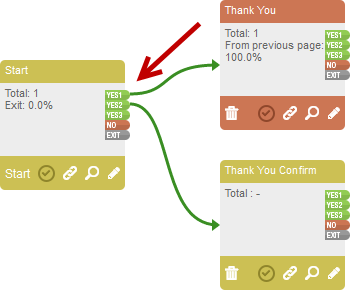
13. At the funnel map, link Yes 1 and Yes 2 (if selected at Double optin link option) to the Thank you page.
Single Optin
Double Optin
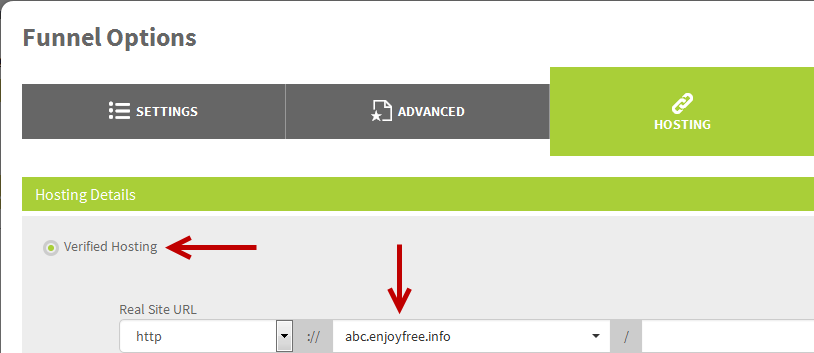
14. Go to Site Options and continue to Hosting tab. Select the domain you have previously added & verified to the system.

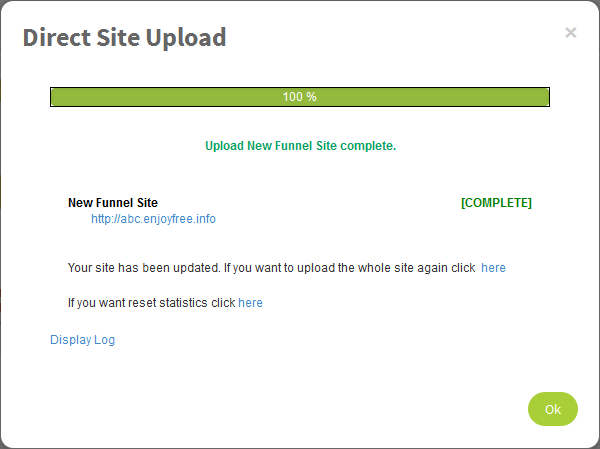
15. Upload the website and wait until it's fully uploaded. The url of your optin site or website will appear. Give this link to your customers or promote it if you want.

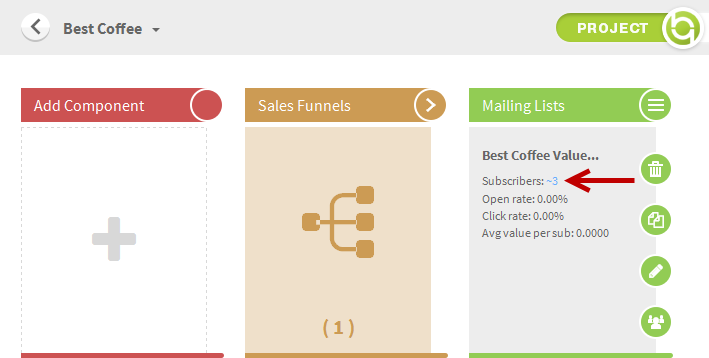
16. After they optin, you can find their emails at the Mailing List. Click the number to view all the subscribers in the list.