Create A Simple Sales Funnel
This tutorial is ideal for any beginners who aren’t sure where to start. To create a sales page, make sure that you already have the product and payment set up.
If you have not set up the product and payment yet, please refer to the Products & Payments tutorial.
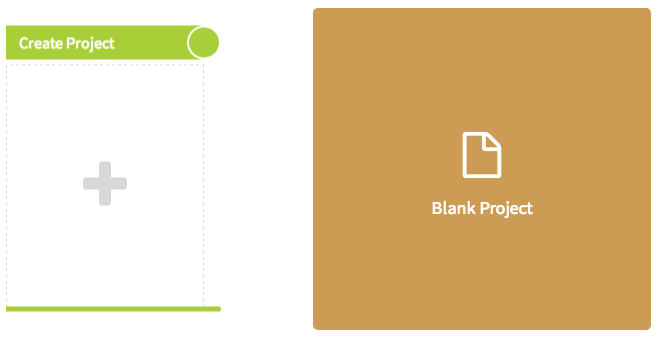
1. Create a "Blank Project".
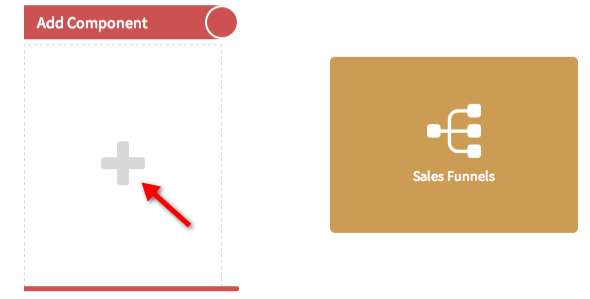
2. Click the "+" button under "Add Component". Select "Sales Funnels".
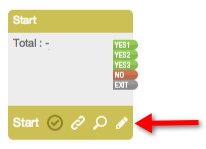
3. Click the "Pencil" icon on the start page or any page that you want to make the sale page in order to edit the page, which will redirect you to the Drag and Drop Editor.
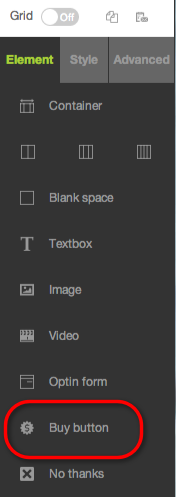
4. Then Drag the "Buy button" to the container.
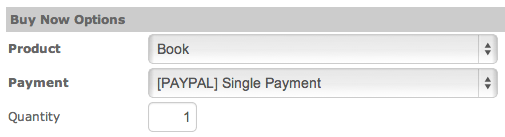
5. Select the product and payment from the dropdown menu. The only products that can be selected are the ones that already have payment options set up. You cannot select any free product here.
6. The "Buy Once payment" has the option of "Add to cart", in case you want your customers to be able to buy multiple products at a time. "Subscription payment" options cannot use the Add to cart option. We will explain the Add to Cart option in another tutorial.

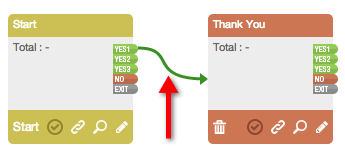
7. Next, choose the "Use connection link". This is where you select the link to redirect your customers to the Thank You page after they pay. You can choose "Yes1, Yes2 or Yes3". It’s entirely up to you.

8. Then select the "Display Option". You can use either "Image" or "Text". You can upload your own button here if you want.

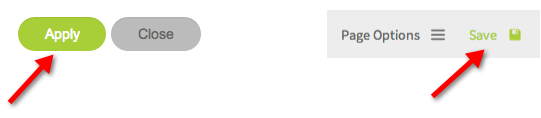
9. Click "Apply". Make sure to select "Save" in the top right hand corner.
10. The Thank You page (or whatever name you desire) is the page that your customers will be directed to after they have successfully made the payment. Make sure that the Yes connection link that you used at the Use Connection Link is linked to Thank You page.