

Create A New Mailing List

The mailing list is used to record the email address, first name and other details you desire from your subscribers.
Each time when new customers sign up or register on your squeeze page, they will be added to the mailing list selected in the opt-in form or webform on the squeeze page. Once they are added to the list, you can broadcast the email or send any automated email to them in order to keep them updated about your new product or service.
In this tutorial, we will show you how to create a new mailing list by using the mail wizard.
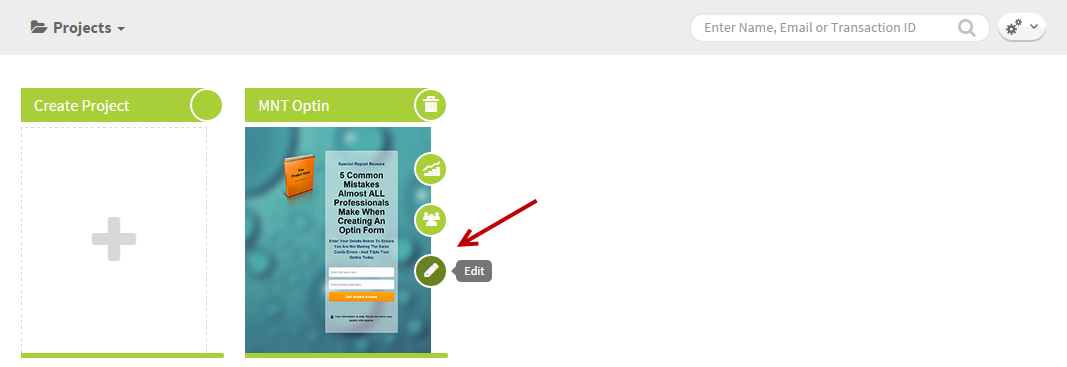
1. Go to any project that you want to create a new mailing list in. Click the pencil to access the project.
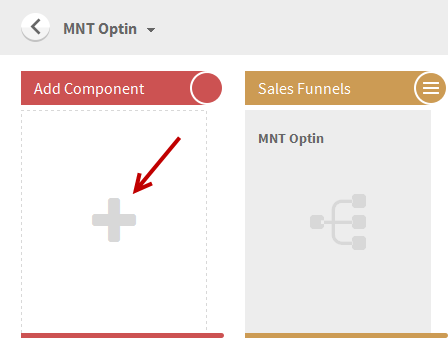
2. Mailing List is counted as one component of the project so click the + icon under Add Component.
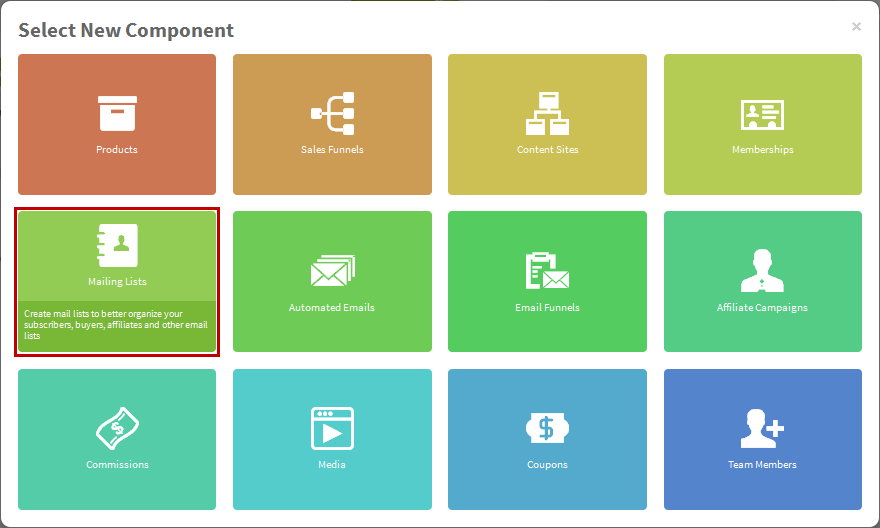
3. Select Mailing Lists component to start the mail wizard.
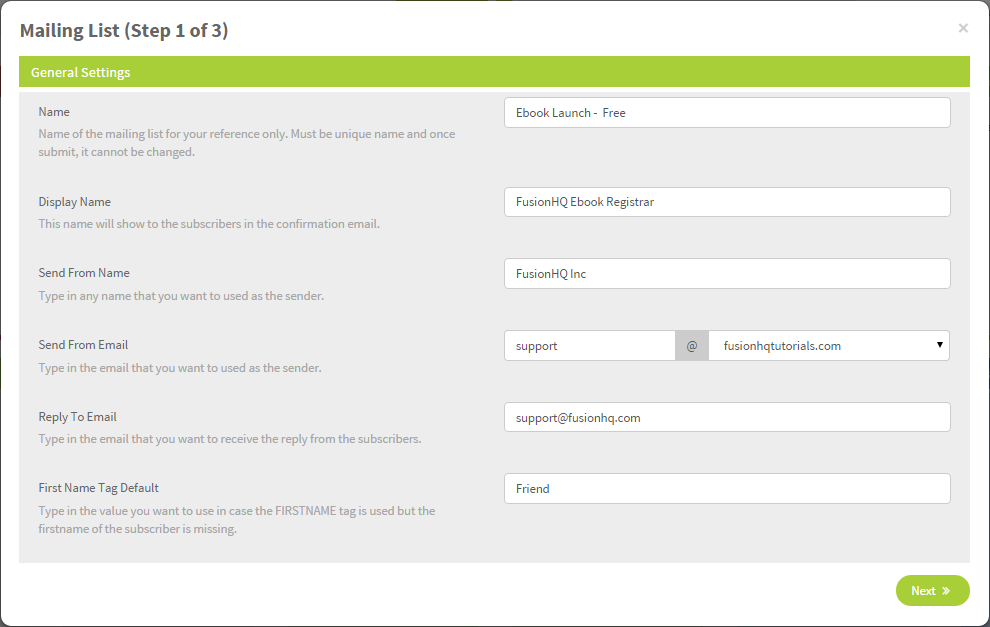
Step 1 of 3 - General Settings
This is to set up the necessary details of the mailing list.
- Name is the name of your new mailing list. This is the reference name in your account.
- Display Name is the name shown in the confirmation email which is sent to your subscribers when they are added to this mailing list.
- Send From Name will be shown as the name of the email sender
- Send From Email is shown to the recipient as the email address of the sender. We suggest that you use any email account created from your own domain and it must be the domain that you have verified with FusionHQ system according to spam policy. You cannot use Gmail, Yahoo, Hotmail or any email account from free webmail in this area. Otherwise your email will be converted as an email from FusionHQ system and will be shown as abcde+gmail@fusionhqmailer.com.
- Reply To Email is the email to receive any reply from the subscribers. You can use any kind of email account here including gmail, yahoo or free webmail.
- First Name Tag Default is whatever shown in the email message if you do not have the first name of the subscribers. The system will use the value you put here. For instance, if you place Friend, in your email, it shows Hi Friend. If you use customers, in your email, it shows Hi customers.
Once finish, click Next button to proceed to Step 2.
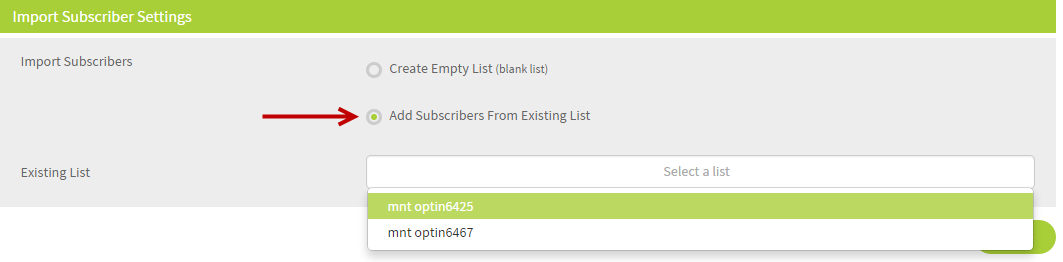
Step 2 of 3 - Import Subscriber Settings
At this point, you have the option to select if you wish to create a brand new mailing list or import the subscribers from any current mailing lists.
- Create Empty List is to create a blank list. The subscribers number starts from zero.

- Add Subscribers From Existing List is to import or duplicate the subscribers from other existing lists from the same project. The subscriber number starts from the total number of the subscribers from each list you have imported
Once finish, click Next button to proceed to Step 3.
Step 3 of 3 - How do you want to send mail?
This is to select the mail server type to work with this list.
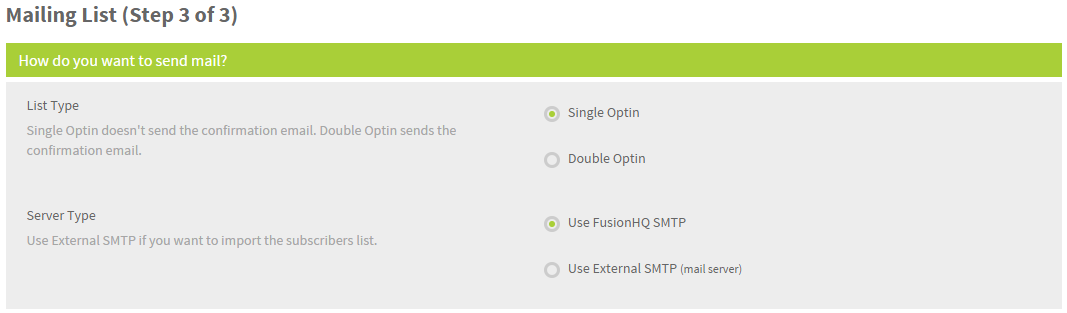
1. "Optin Type" is the option to send or not send the confirmation email to the subscribers after they opt-in.
- Single Optin is not to send the confirmation email to the subscribers. The advantage of the Single Optin list is your list grows very fast because it's a one-step process. However, there's possibly the risk of spam complaints and low open rate. So basically, every email being used to opt-in will be added to this list even though they are fake emails or spambots.
- Double Optin (aka Confirmed List) is to send the confirmation email to the subscribers after they opt-in. The subscribers need to click the link in the email to verify their existence so that they are added to this list. The good point of the double optin list or confirmed list is the list gets low bounce rates and less spam complaints.

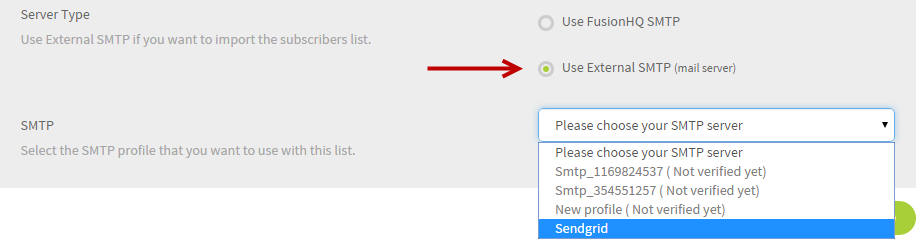
2. "Server Type" is to select the mail server service to keep and send out your email message to the subscribers in this list.
- Use FusionHQ SMTP is to use FusionHQ mail server to send out your email. However, with this option, you cannot import any subscribers list to any mailing lists which uses FusionHQ mail server due to spam policy.
-
Use External SMTP (mail server) is to use the mail server of another provider to send out your email. You can import the subscribers list to any mailing lists which uses external
SMTP provider. Before you can use this option, you need to create an SMTP profile at Integrations section first.
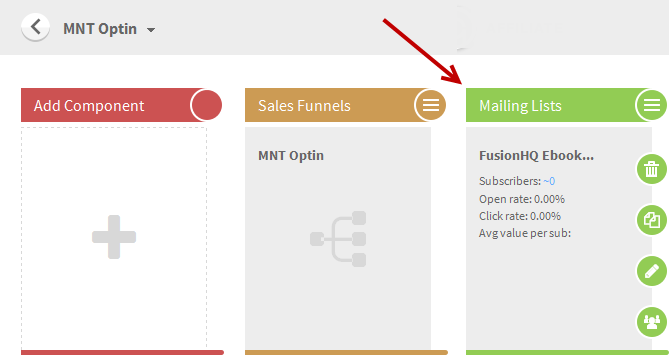
3. Once finish, click the Finish Wizard button to see the mailing list details page where you can also adjust or customize the details of the list.
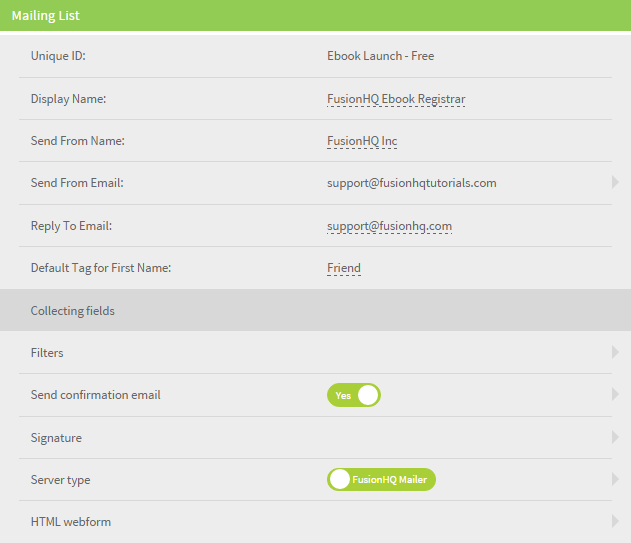
4. Now your mailing list is ready in the project.
* What exactly is SMTP (Simple Mail Transfer Protocol)?
To explain it in