
An Overview to Membership Site

While content sites are public and don’t require log in details – memberships are only viewable to designated members via a login box. You can choose which membership level can access each page, based on the levels that you create.
Membership sites always feature a login box. You can also cancel the privileges when it is necessary.
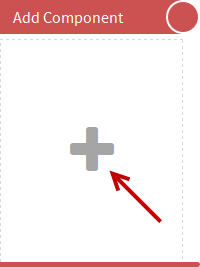
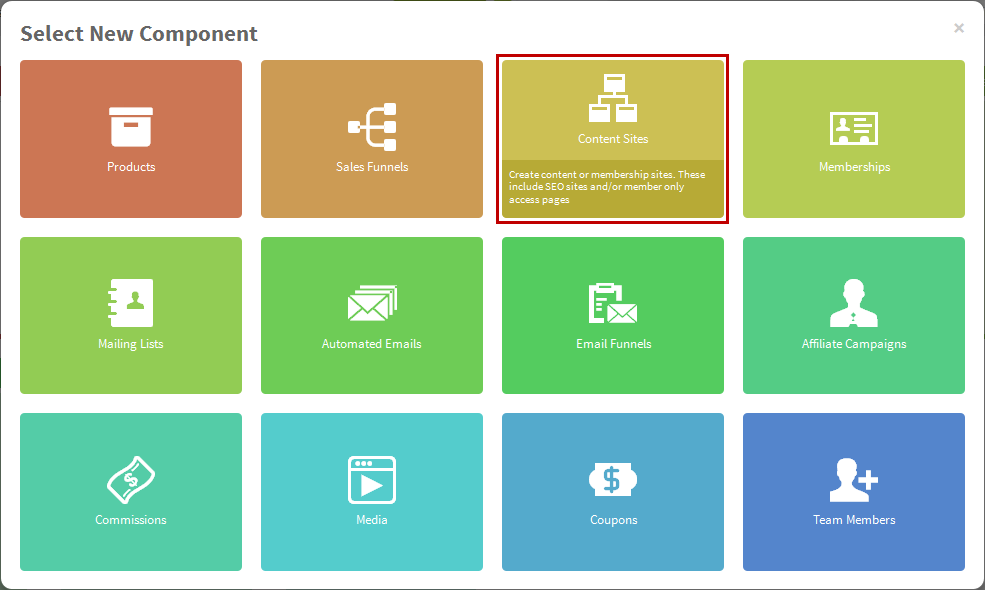
1. Inside your project, Add Component and select Content Site.
2. The name of the site can also be changed at the top left of the page.

3. There are 2 options to add a new page. Click Add Page on the top right side or click New Page icon from any parent page.

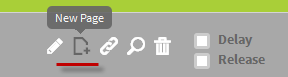
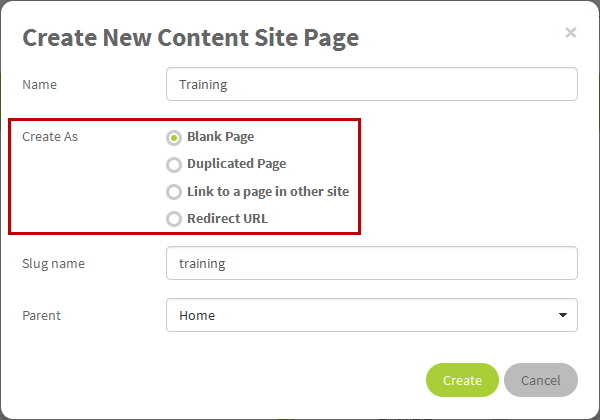
4. If you click Add Page, the new page will be sub-page of the Home page by default and you can select the new page option. There are Blank Page, Duplicated Page, Link to a page in other site or Redirect URL. For the New Page icon, the page will always be blank page under the page you made Parent page.
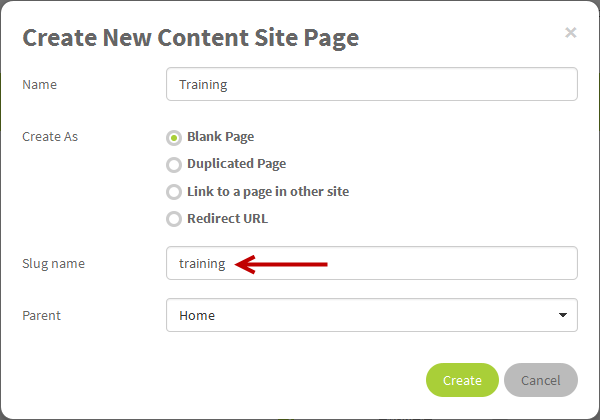
5. Slug is the common url of the page. The system always use the page name as slug by default. You can always change it if you want.
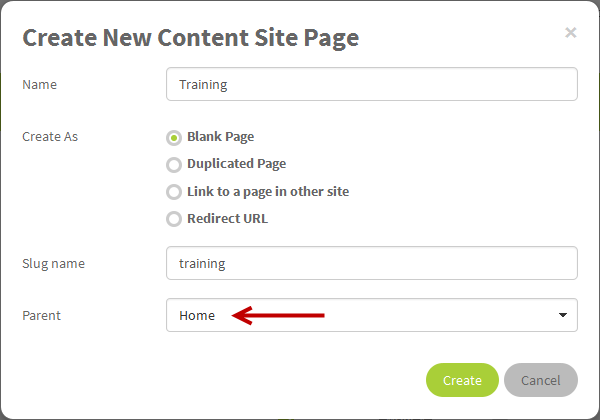
6. Parent page is the upper level/menu of the selected page. If its parent page is Home, the page will become the top level page at the menu bar. You can select No Parent if you do not show this page at the nevigation menu or menu bar. You can always drag the ![]() icon to move the page level or change the parent.
icon to move the page level or change the parent.
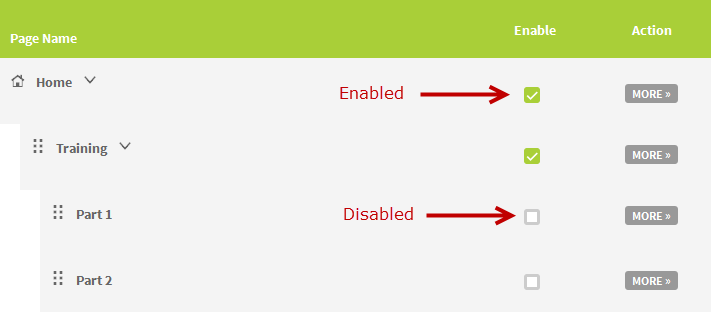
7. At Enable, if you tick this option, this page will show at the nevigation menu. Your members can view the page normally. If it's disabled, it won't show and no one can access it even it's bookmarked. When your members try to open it, it will redirect them to the Home page of the membership site.
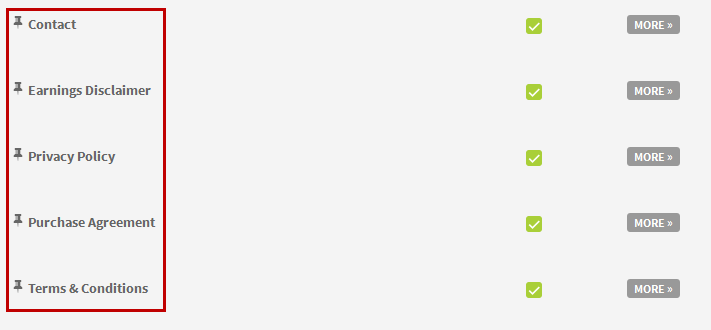
8. Static pages (aka Fixed pages) are the Bottom Menu pages which will be shown at the bottom part of every page in the membership site. You can disable any or all of them if you do not want to show it in your website.
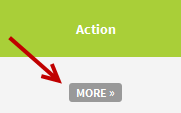
9. At Action, click MORE to expand and view the icon to manage the page.

-
 is to EDIT the page
-
 is to CHANGE the parent page
-
 is to PREVIEW
-
 is to create a NEW blank child page
-
 is to get the URL
-
 is to DELETE the page
10. You can set up the automatic time release by enabling either Release or Delay option.
- The Release option allows you to select the specific release date for that page. That means the members of the site will see the page on the same day. No matter how long they are members.

- With the Delay option (or Drip Feed), you can choose any amount of days, weeks, months or years depending how long they are members. The page will not show up for the indicated amount of time. If you select 1 day, the page won’t be viewable until tomorrow.

11. In the Membership section, you can select which membership levels you’d like to grant privileges to. Only members who have the correct membership level are able to view the page. They cannot view any page that they do not have the membership level. Once you assign the membership level to any page, the system will add the log in box to the page automatically.
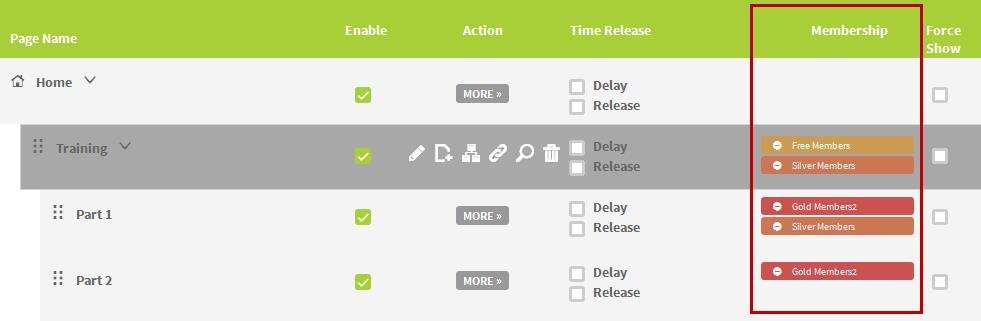
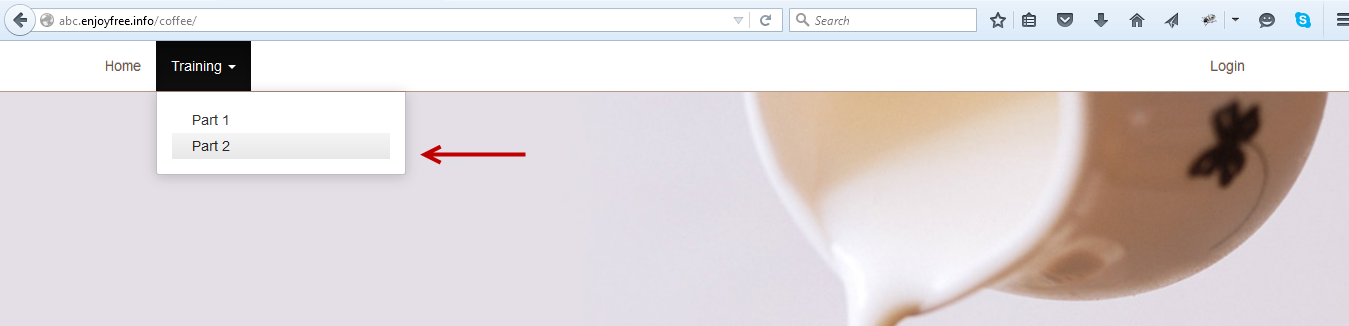
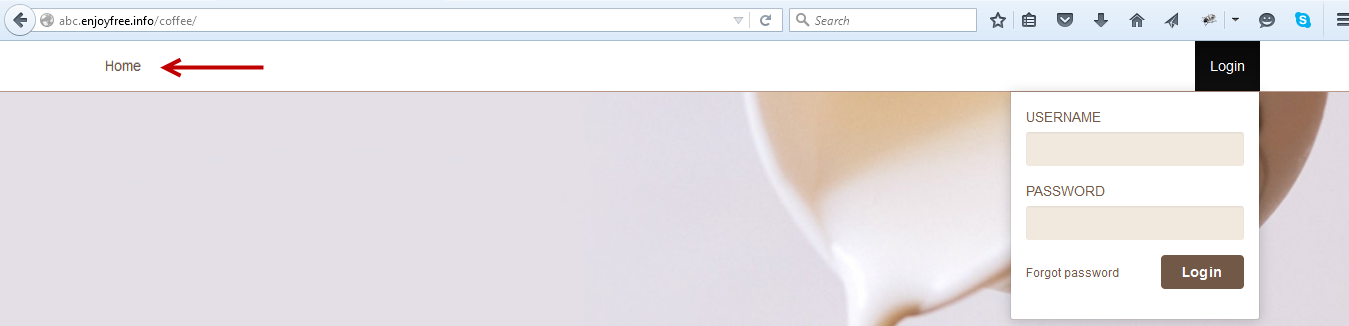
12. Force Show means to always show the page name at the nevigation menu. Somehow, if members do not have the correct membership level, they still cannot see the content but page name only.
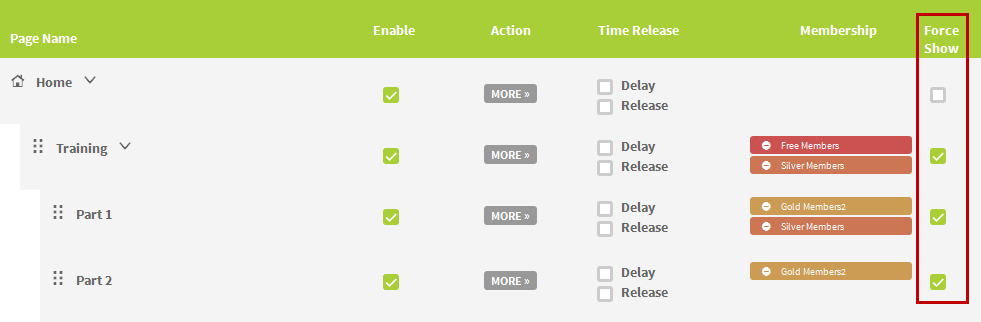
With Force Show Enabled
With Force Show Disabled
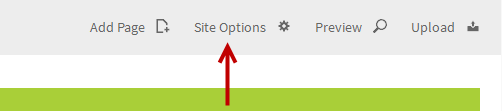
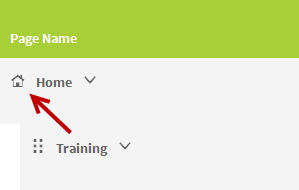
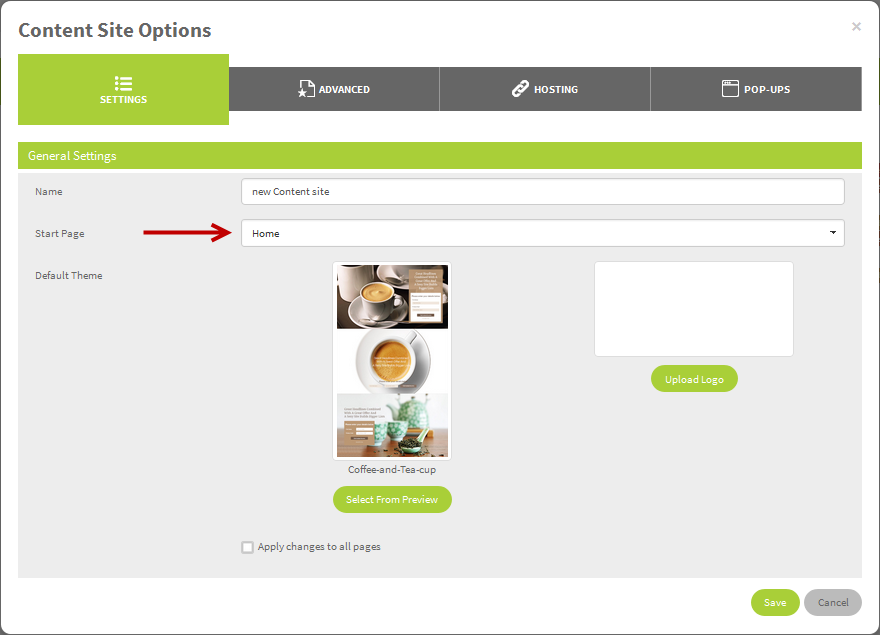
13. The first page of the membership site always have a home icon ![]() in front of its name. Though you can change this if you desire. Click Site Options in the top right hand corner and at the Settings tab, select the new Home at the Start Page dropdown.
in front of its name. Though you can change this if you desire. Click Site Options in the top right hand corner and at the Settings tab, select the new Home at the Start Page dropdown.
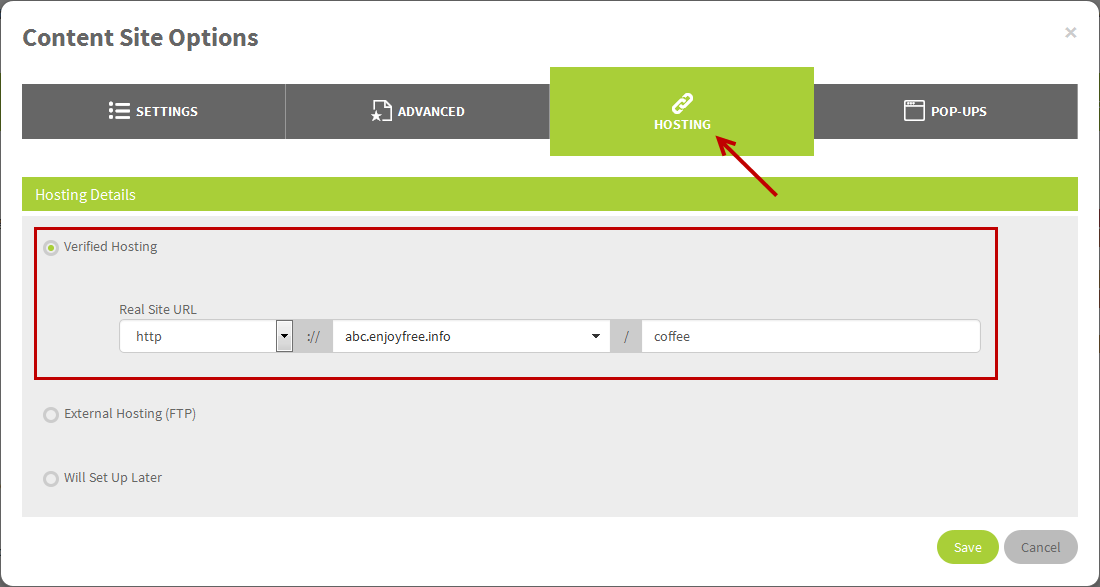
14. To set up the url of the membership site, click Site Options and go to Hosting tab. Select Verified Hosting option to select the domain you have added to the system. Once finished, click Upload to publish your website.