Affiliate Campaign - An Overview
Affiliate campaign is a vital part of Internet Marketing. Your affiliates can help with product promotion and increase your sales. FusionHQ’s affiliate campaign component helps you to recruit and manage your affiliates.
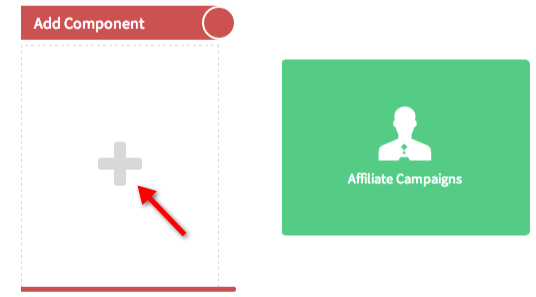
1. Click "+" icon in "Add Component" and Select "Affiliate Campaign".
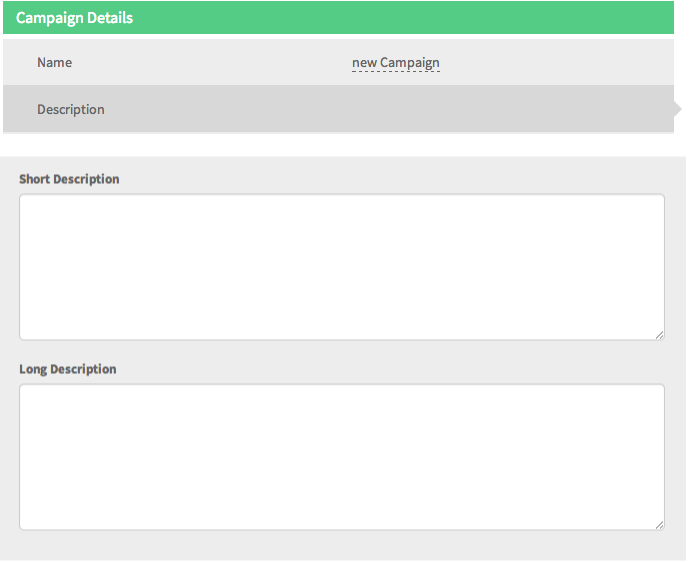
2. Enter your campaign details. "Name" is the name of your campaign. "Description", you can enter both a short and long description of your campaign if you desire.
3. "Main Website" – When you create a campaign, you already have a main website. Enter the URL.

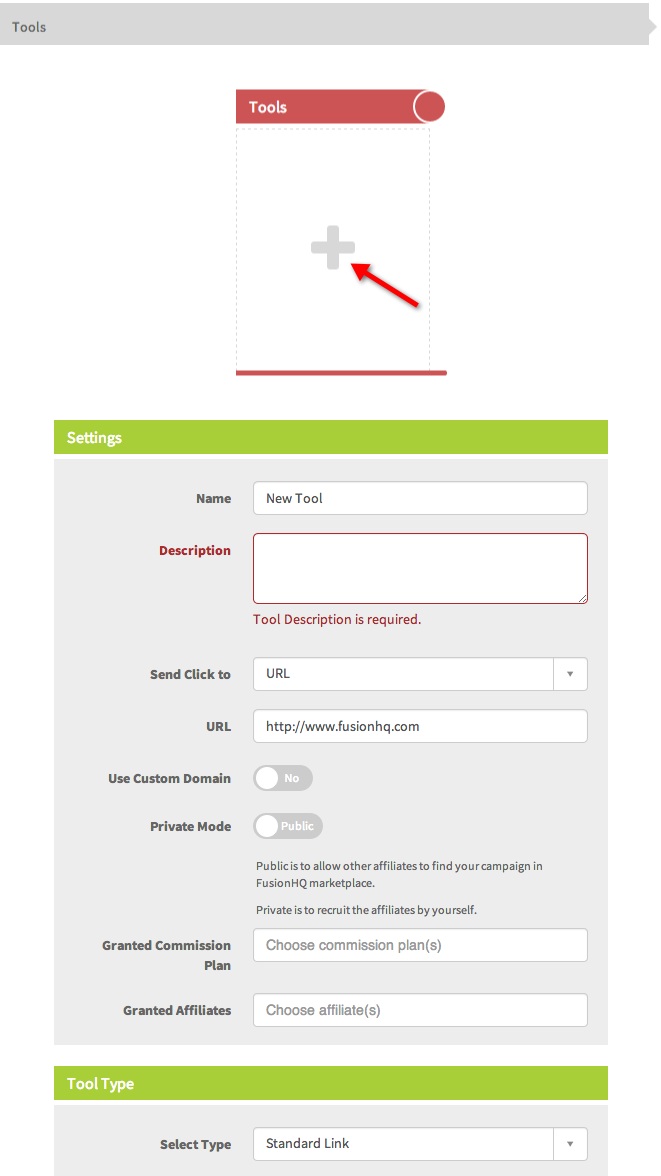
4. "Tools" – If you would like to insert a promotional tool in your instructions, add it and customize necessary details. Enter the name of your tool, along with a description. The description is used for social media platforms and so on.
Please visit "Promo Tools" tutorial for a more detailed instruction on this.
5. "Logo" – Click on "Choose File" to upload a logo for your campaign.
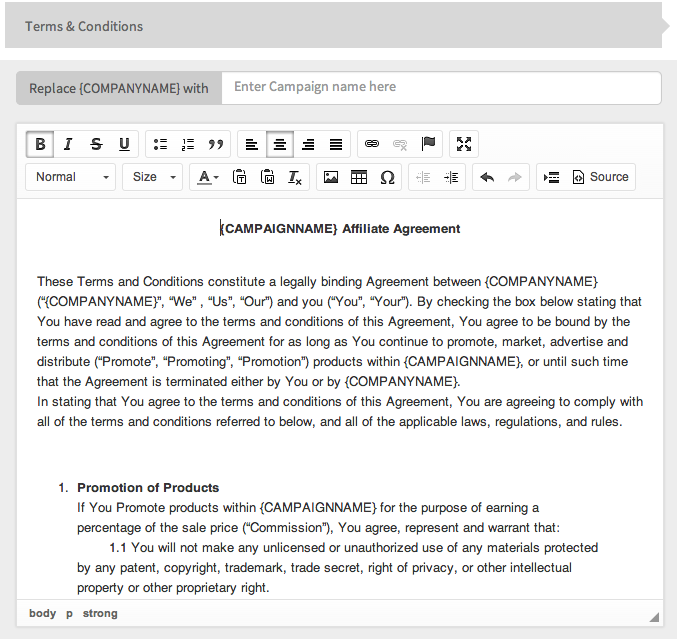
6. "Terms & Conditions" – Enter the name of your company in the designated box and it will replace all {COMPANYNAME} tags. You can also alter the Terms & Conditions to your liking.
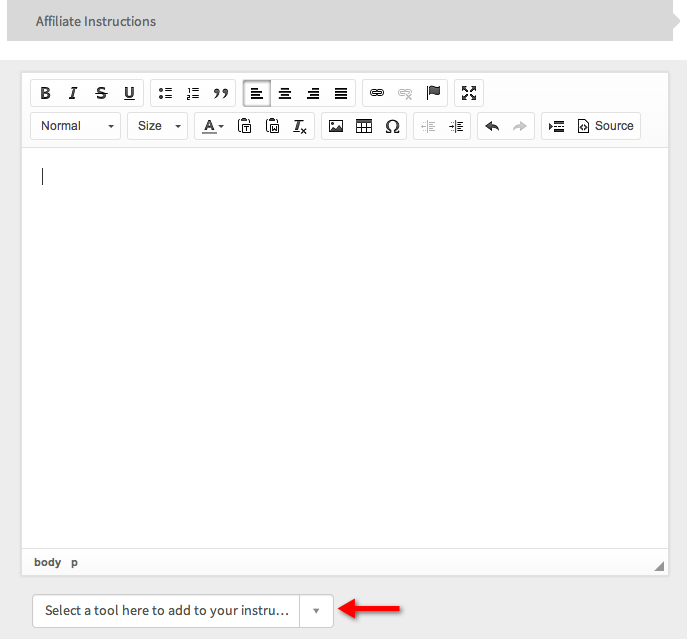
7. "Affiliate Instructions" – This is where you create the instructions or provide promotional details for your affiliates, such as “You can post this to various social media platforms.” You can also add links here like promo tools and such.
8. "Default Commission Plan" – This is used as your campaign’s main commission. If you want to change the amount value of the commission, then please refer to the commission section or video. Every time you change the default commission plan, the changes will only be applied to new affiliates.
"Product" – Select the product that you want to add to the campaign. If the product is not added here, the system won’t calculate the commission for you even if a sale is made. This is the very important option.
"Minimum Commission Amount" – This amount must be reached until a payout occurs.

9. "Affiliate Winner" – You can select if either the first or last affiliate wins.

10. Cookie Length – Enter the exact duration that you would like the cookie to be tracked by the system. Leave it at zero for lifetime cookie length.

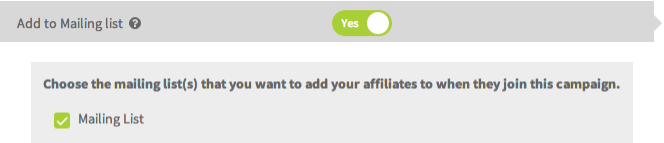
11. "Add To Mailing List" – You will need to set this up if you want your new affiliates to be added automatically to a certain list. Mailing lists can be set up in the "Optin Forms" section.
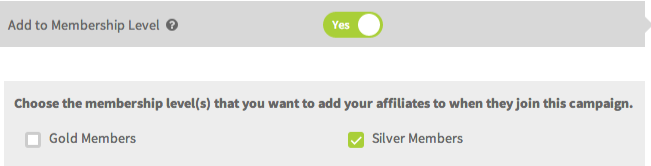
12. "Add To Membership Level" - Set this up if you want your new affiliates to be added automatically to a membership level. Go to the "Membership Level" section to create and modify the membership levels.
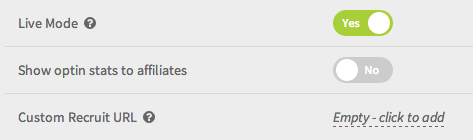
13. "Live Mode" – You can choose to have your affiliate campaign go live immediately by selecting "Yes". Prior to selecting Yes, make sure that the campaign and all its tools are set up properly.
"Show Optin Stats To Affiliates" – You can select whether or not you would like your affiliates to see a record of their optins.
"Custom Recruit URL" – If you have a customized URL, for example the url of your sign up page, then simply add it here. This allows people to sign up to your affiliate program through a dedicated page for those who have access to the URL. You can create a page, copy the URL and apply it here.